Smoker Upgrade!
-
That’s what I thought… easy peasy!!!
/Users/Ron/Pictures/Ron’s Photos Library.photoslibrary/resources/derivatives/3/3EF5FA3C-1F67-4E54-84E7-36FB5EA5660C_1_102_o.jpeg

/Users/Ron/Pictures/Ron’s Photos Library.photoslibrary/resources/renders/4/4FAA1FE4-C4C2-42CA-94A3-E630D7B01BE4_1_201_a.heicRetired157
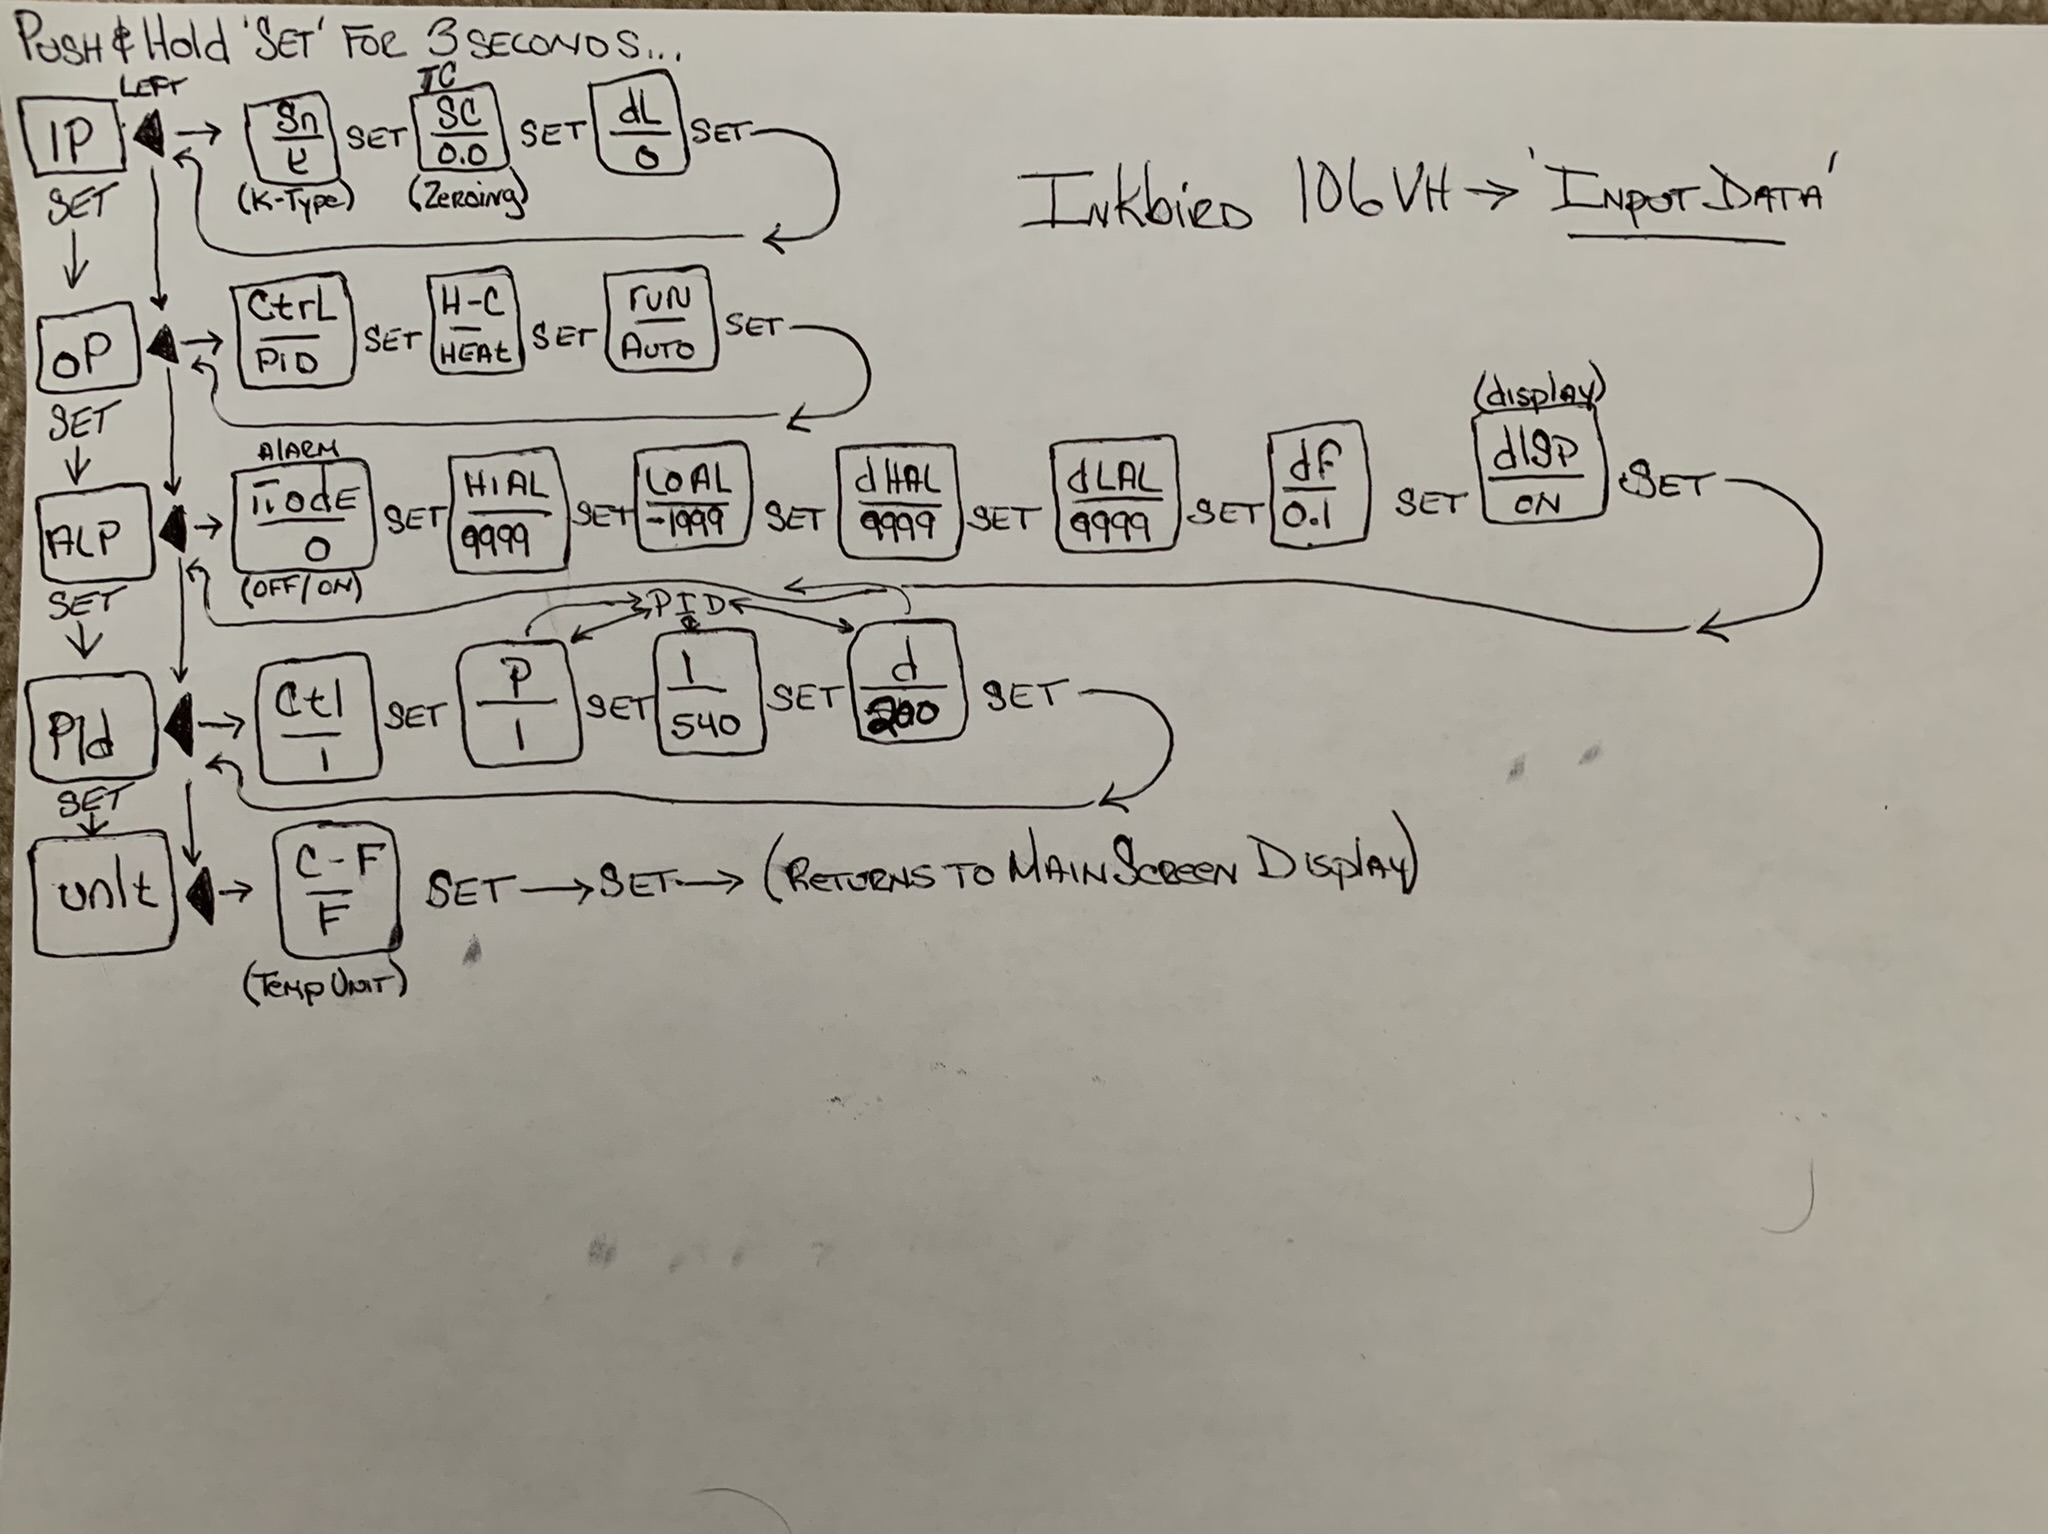
/Users/Ron/Pictures/Ron’s Photos Library.photoslibrary/resources/derivatives/C/C58D2197-F53B-4F38-BA2C-D9477C08E0EB_1_102_a.jpegHere’s all the settings for the PID
-
That’s what I thought… easy peasy!!!
/Users/Ron/Pictures/Ron’s Photos Library.photoslibrary/resources/derivatives/3/3EF5FA3C-1F67-4E54-84E7-36FB5EA5660C_1_102_o.jpeg

/Users/Ron/Pictures/Ron’s Photos Library.photoslibrary/resources/renders/4/4FAA1FE4-C4C2-42CA-94A3-E630D7B01BE4_1_201_a.heicRetired157 WOW!!! Very nicely done.

-
Retired157
/Users/Ron/Pictures/Ron’s Photos Library.photoslibrary/resources/derivatives/C/C58D2197-F53B-4F38-BA2C-D9477C08E0EB_1_102_a.jpegHere’s all the settings for the PID
Retired157
Wow!! How about firing it up and doing some sausage. Looks great but you lost me at PID. I can read schematics to a point, but… -
Retired157
/Users/Ron/Pictures/Ron’s Photos Library.photoslibrary/resources/derivatives/C/C58D2197-F53B-4F38-BA2C-D9477C08E0EB_1_102_a.jpegHere’s all the settings for the PID
Retired157 By the way nice to see you back. Now we’ll be waiting on some sausage pictures
 . Congrats to you
  .
. -
Yep… It won’t be much longer and I’ll be ready to try my hand at making some Summer Sausage. I’ve got one more ‘tweak’ I want to do with my smoker (don’t anyone tell my wife). I’m going to make a ‘portable’ fan to use in order to help with air flow at the intake damper. Ordered the fan yesterday…
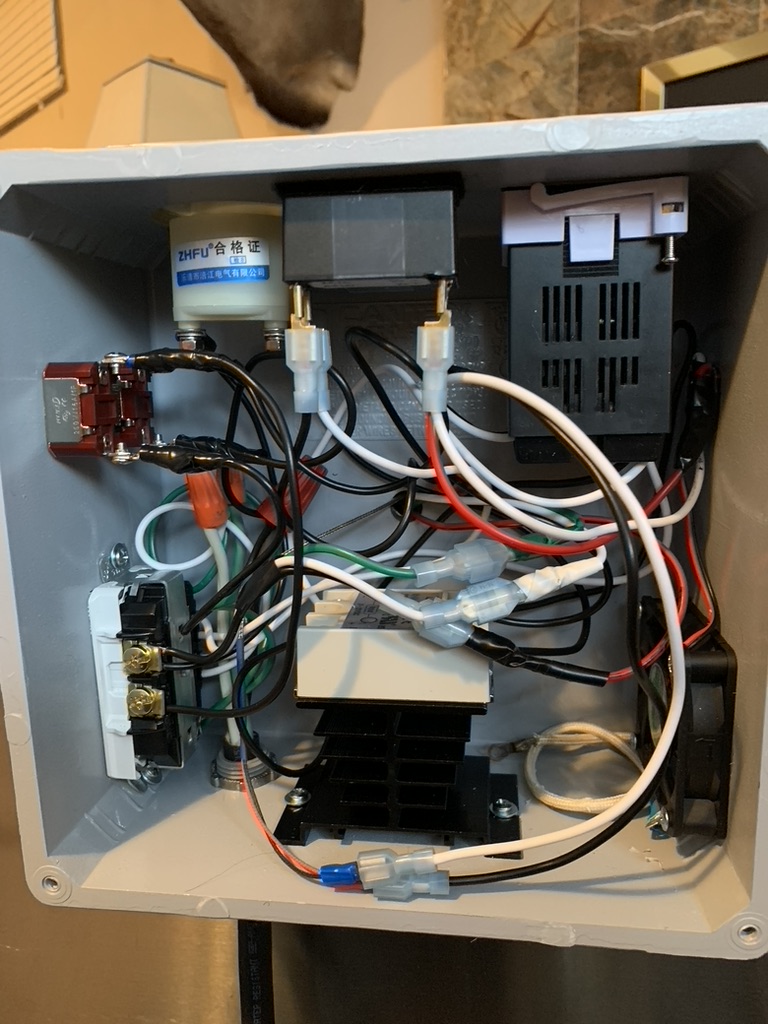
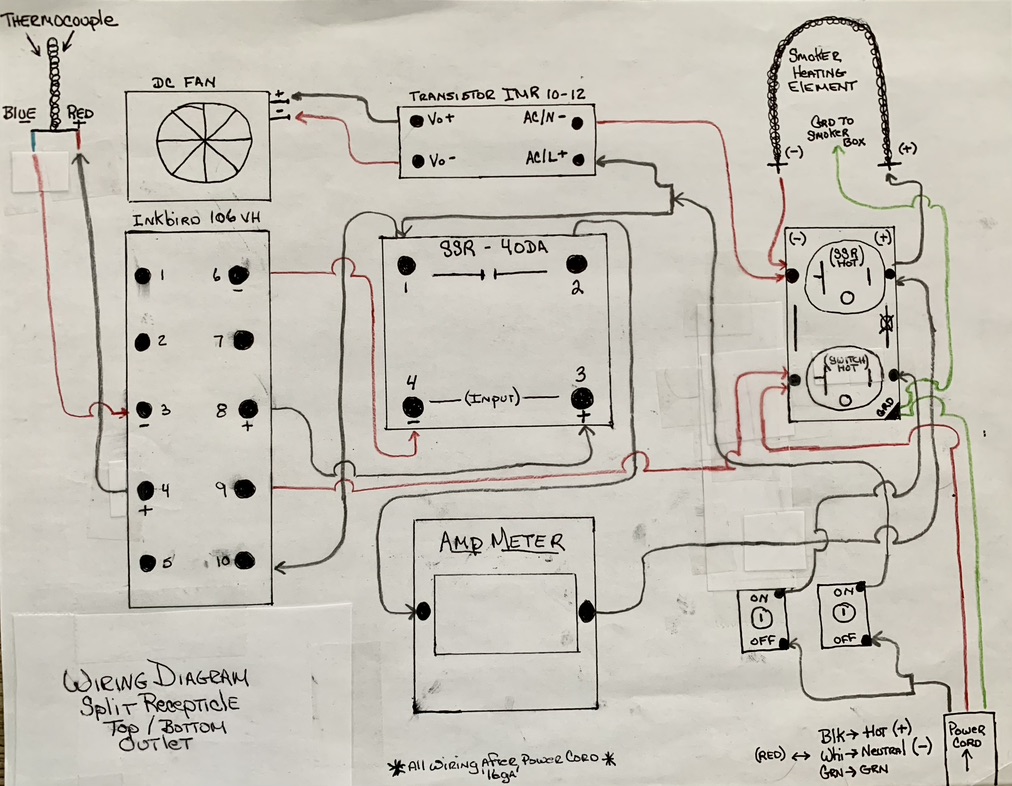
With respect to this PID project, I tell anyone who asks that it’s really not ‘rocket science’… if I can do it, ANYONE can! It was so easy after watching ‘George’ on his You Tube videos. The wiring diagram pic is so easy to follow. The pic of all the settings for the PID is straight forward and all you need. Anyone who has been ‘thinking’ about doing something like this but has been ‘wondering’… oh man, it was just so easy!
-
Way over my head as I am using wood and fire and adjusting vents to control temp.
I look forward to seeing some meat off that thing. -
Retired157
/Users/Ron/Pictures/Ron’s Photos Library.photoslibrary/resources/derivatives/2/2AD9B916-BA8A-45B4-957A-2B55DB0C802E_1_102_a.jpeg
/Users/Ron/Pictures/Ron’s Photos Library.photoslibrary/resources/derivatives/B/B418E77D-E9CB-4D99-8FC1-33B7E5806CE5_1_102_a.jpeg
/Users/Ron/Pictures/Ron’s Photos Library.photoslibrary/resources/derivatives/3/3BCE4718-A23A-4F94-A8DD-513756A551E7_1_102_a.jpeg

/Users/Ron/Pictures/Ron’s Photos
/Users/Ron/Pictures/Ron’s Photos Library.photoslibrary/resources/derivatives/1/17947B7E-44BB-408F-B8E2-C3098D09DBC3_1_102_a.jpeg
/Users/Ron/Pictures/Ron’s Photos Library.photoslibrary/resources/derivatives/A/AC2012FB-5B22-4645-A7FA-C0986924733E_1_102_a.jpegRetired157 wow, I have no idea what you just said, but wow. good job. I think I will stick with a wood fired smoke house, I know how that works
-
Retired157 Great work!
I am curious about the reason for an amp meter -
-
Looking good Retired157 .
Like glen, I am wondering about the ammeter?Well, the reality is that it not really a necessary item. Like I was saying earlier, I researched this PID project on the internet and ended up honing in on ‘George’, who uses this technology in Moonshining…
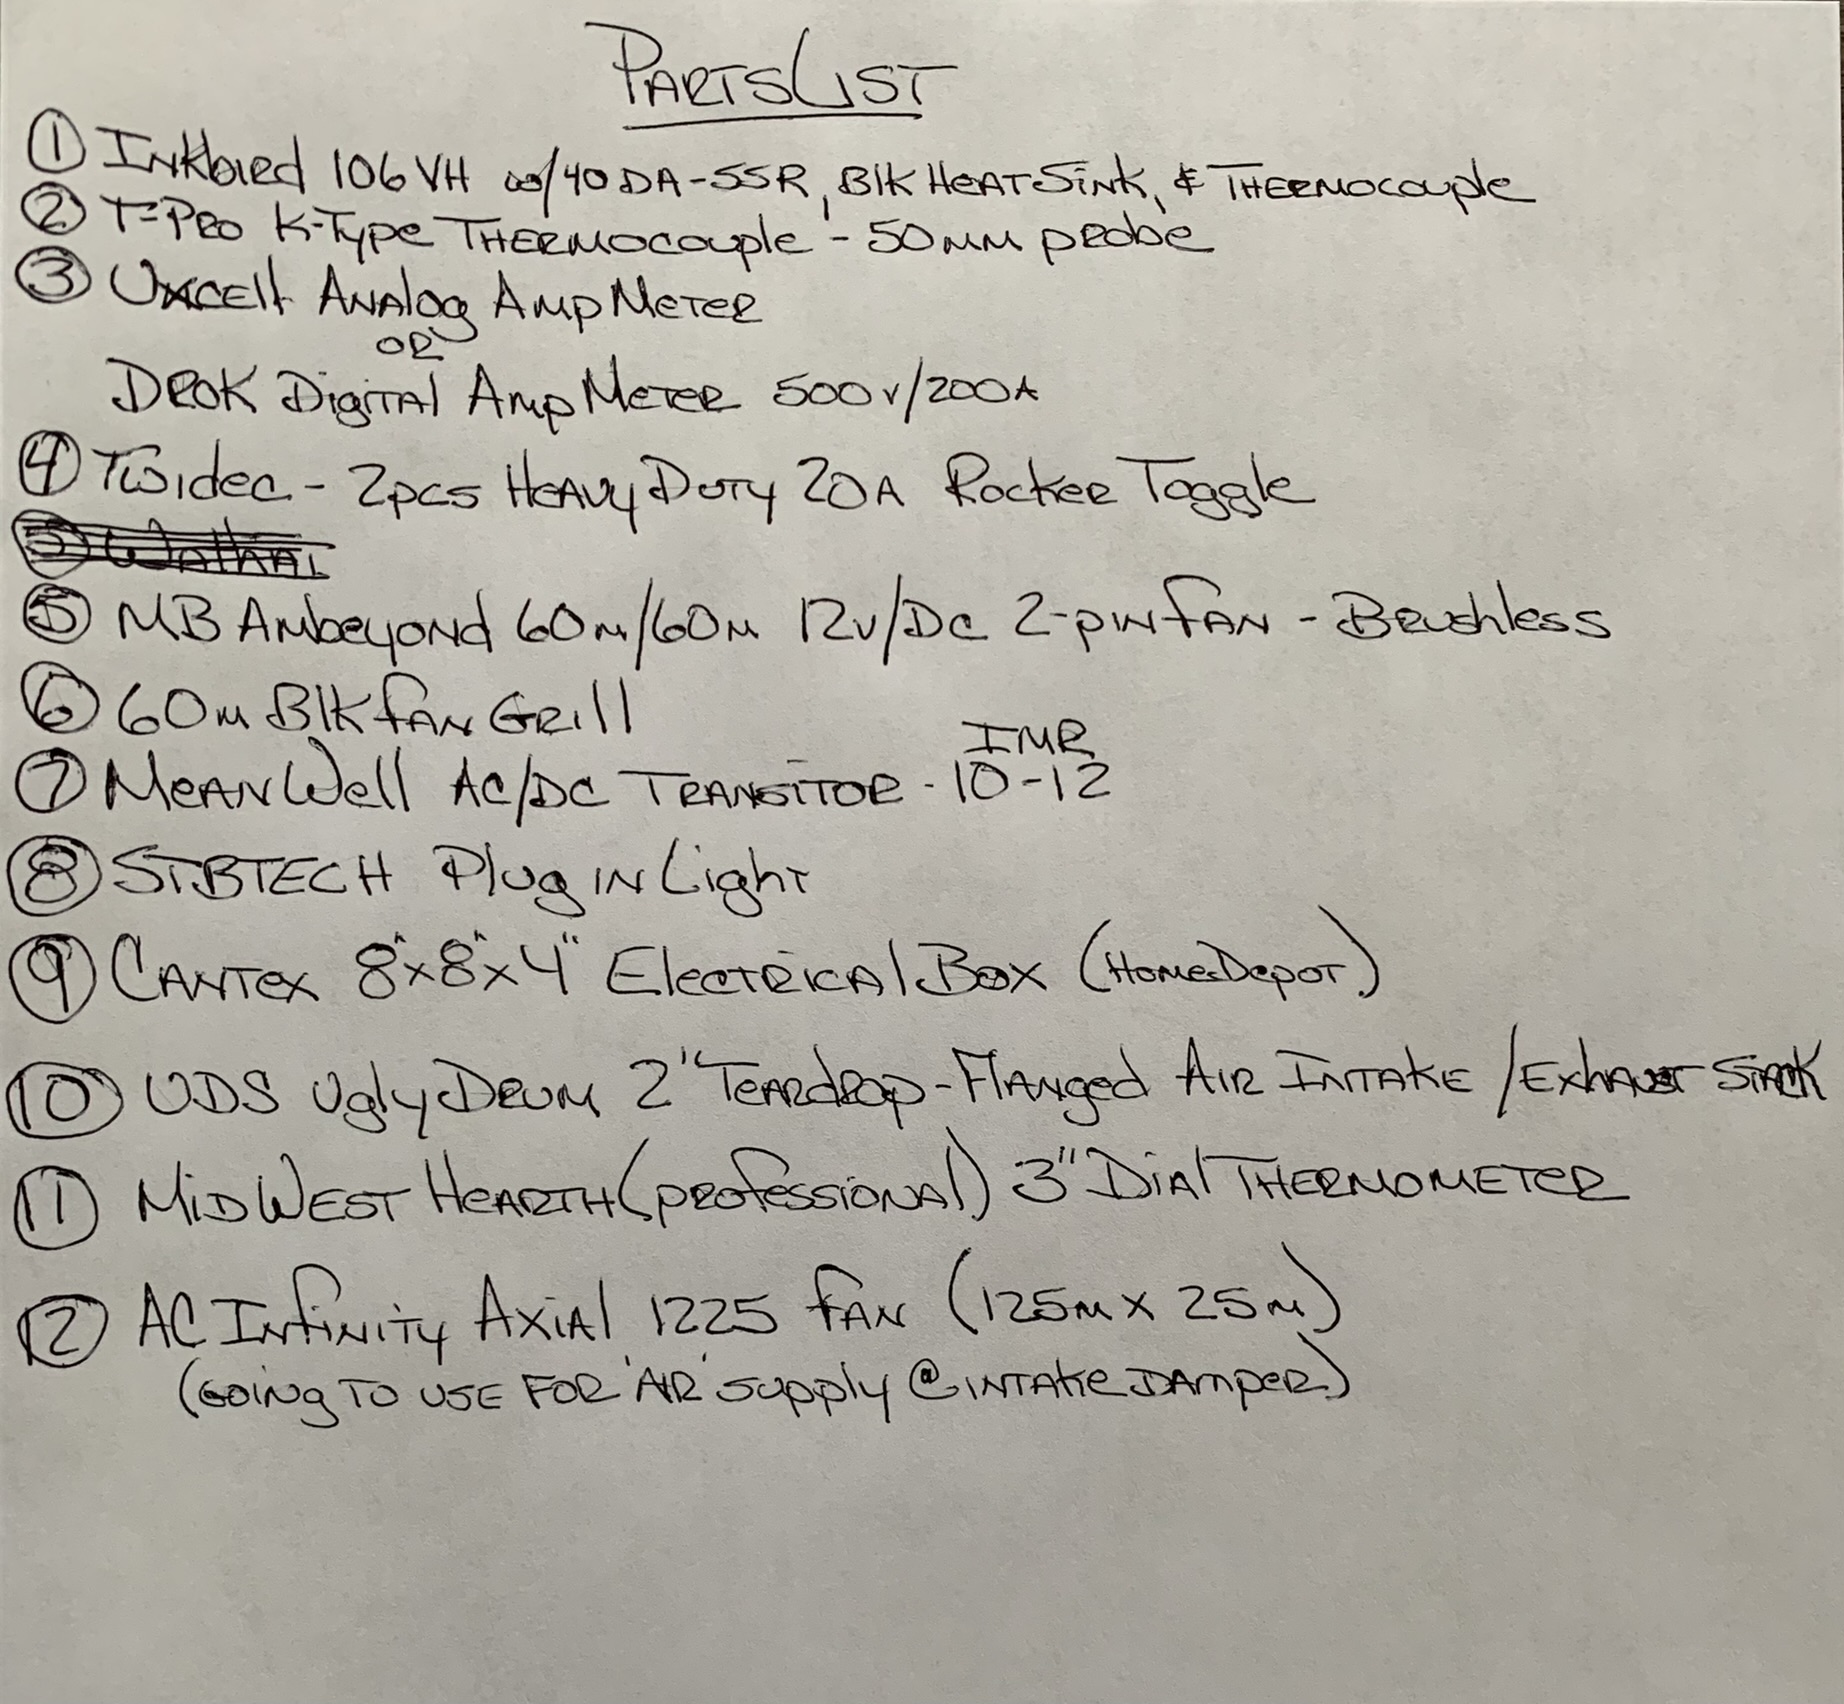
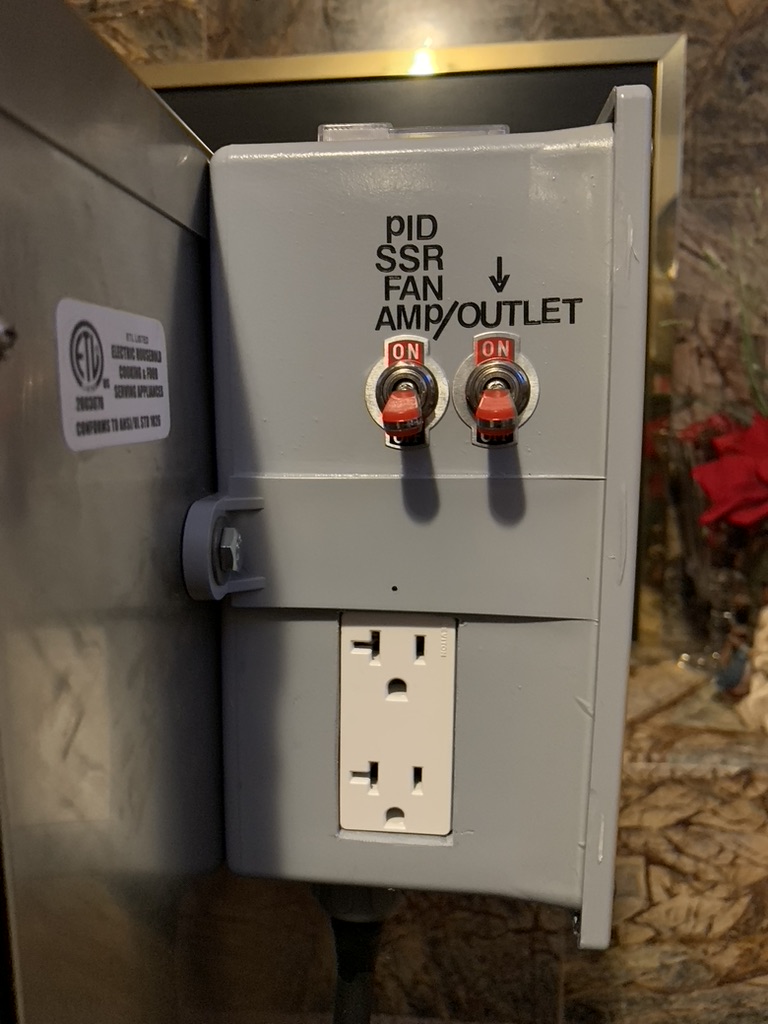
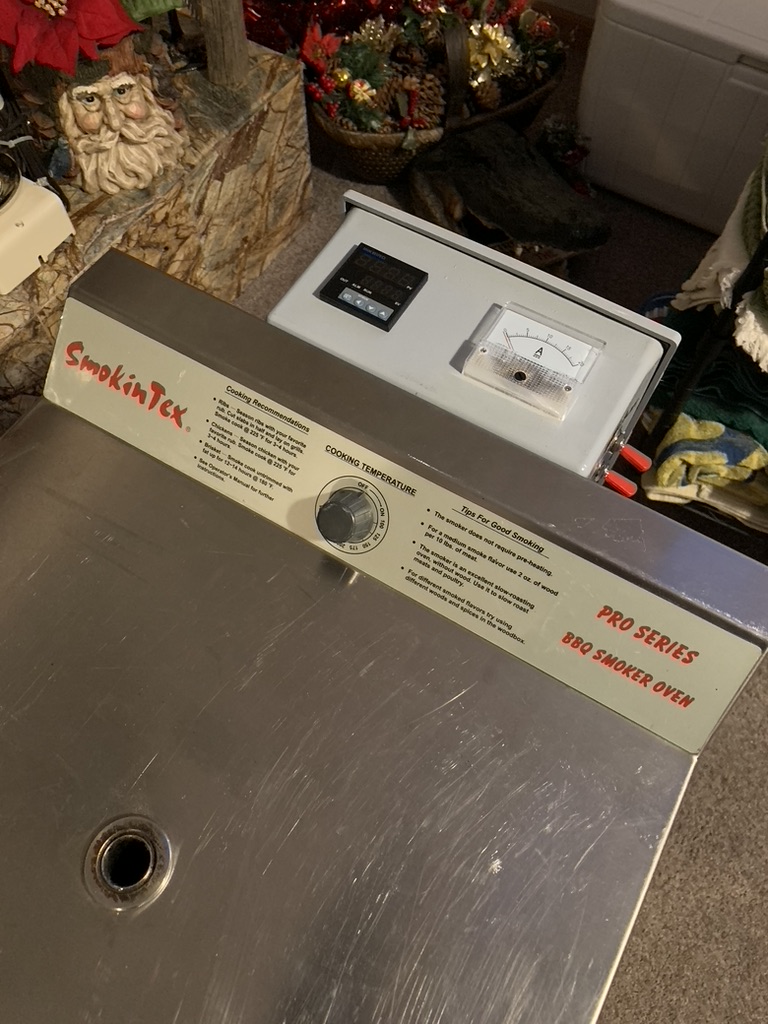
George does a really good job in his videos at explaining the ‘how to’ of making everything work. Now George likes to include some of what he refers to as the ‘cool factors’… i.e. like a fan and yes, the amp meter. I kinda liked the idea of the amp meter because it gives me a ‘visual’ confirmation that the PID working… providing the electrical current to my smoker’s heating element. Is it an absolute necessity; No. That said, for about $8, it does add some ‘cool factor’. Everything I did when putting together that PID ‘box’, came in right at about $100. Yep, I followed George’s ‘cool factor’ suggestions… kinda just a fun project.
-
But in all honesty, Kyle probably has it ‘just as right’… wood & fire in a smoke house works the same!
-
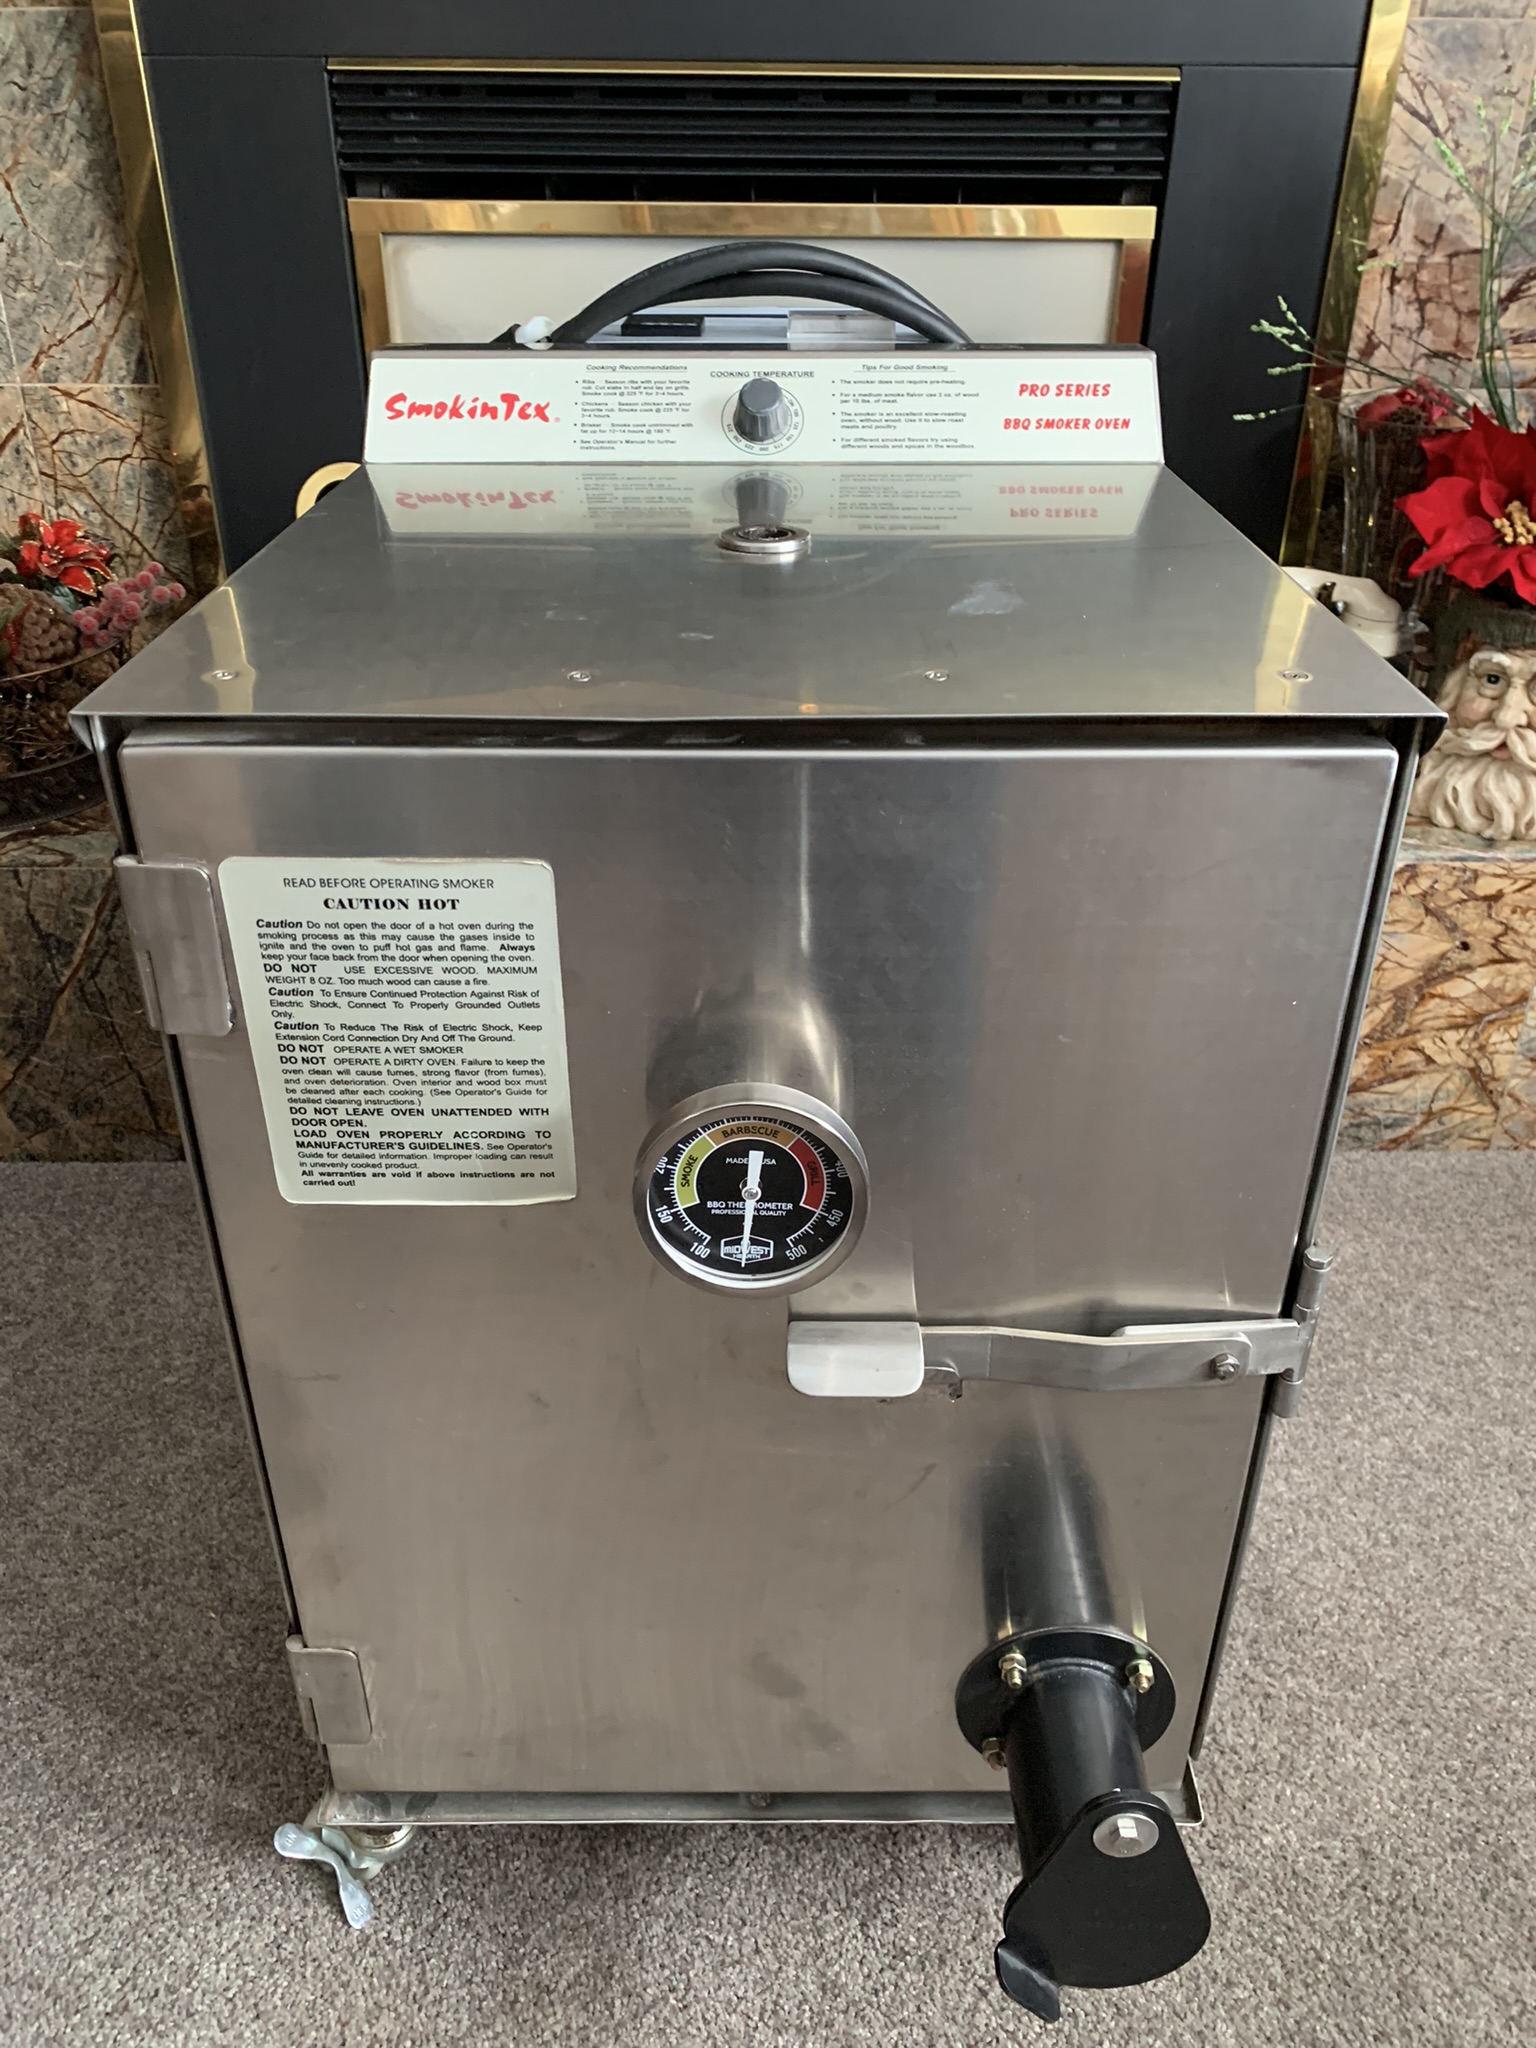
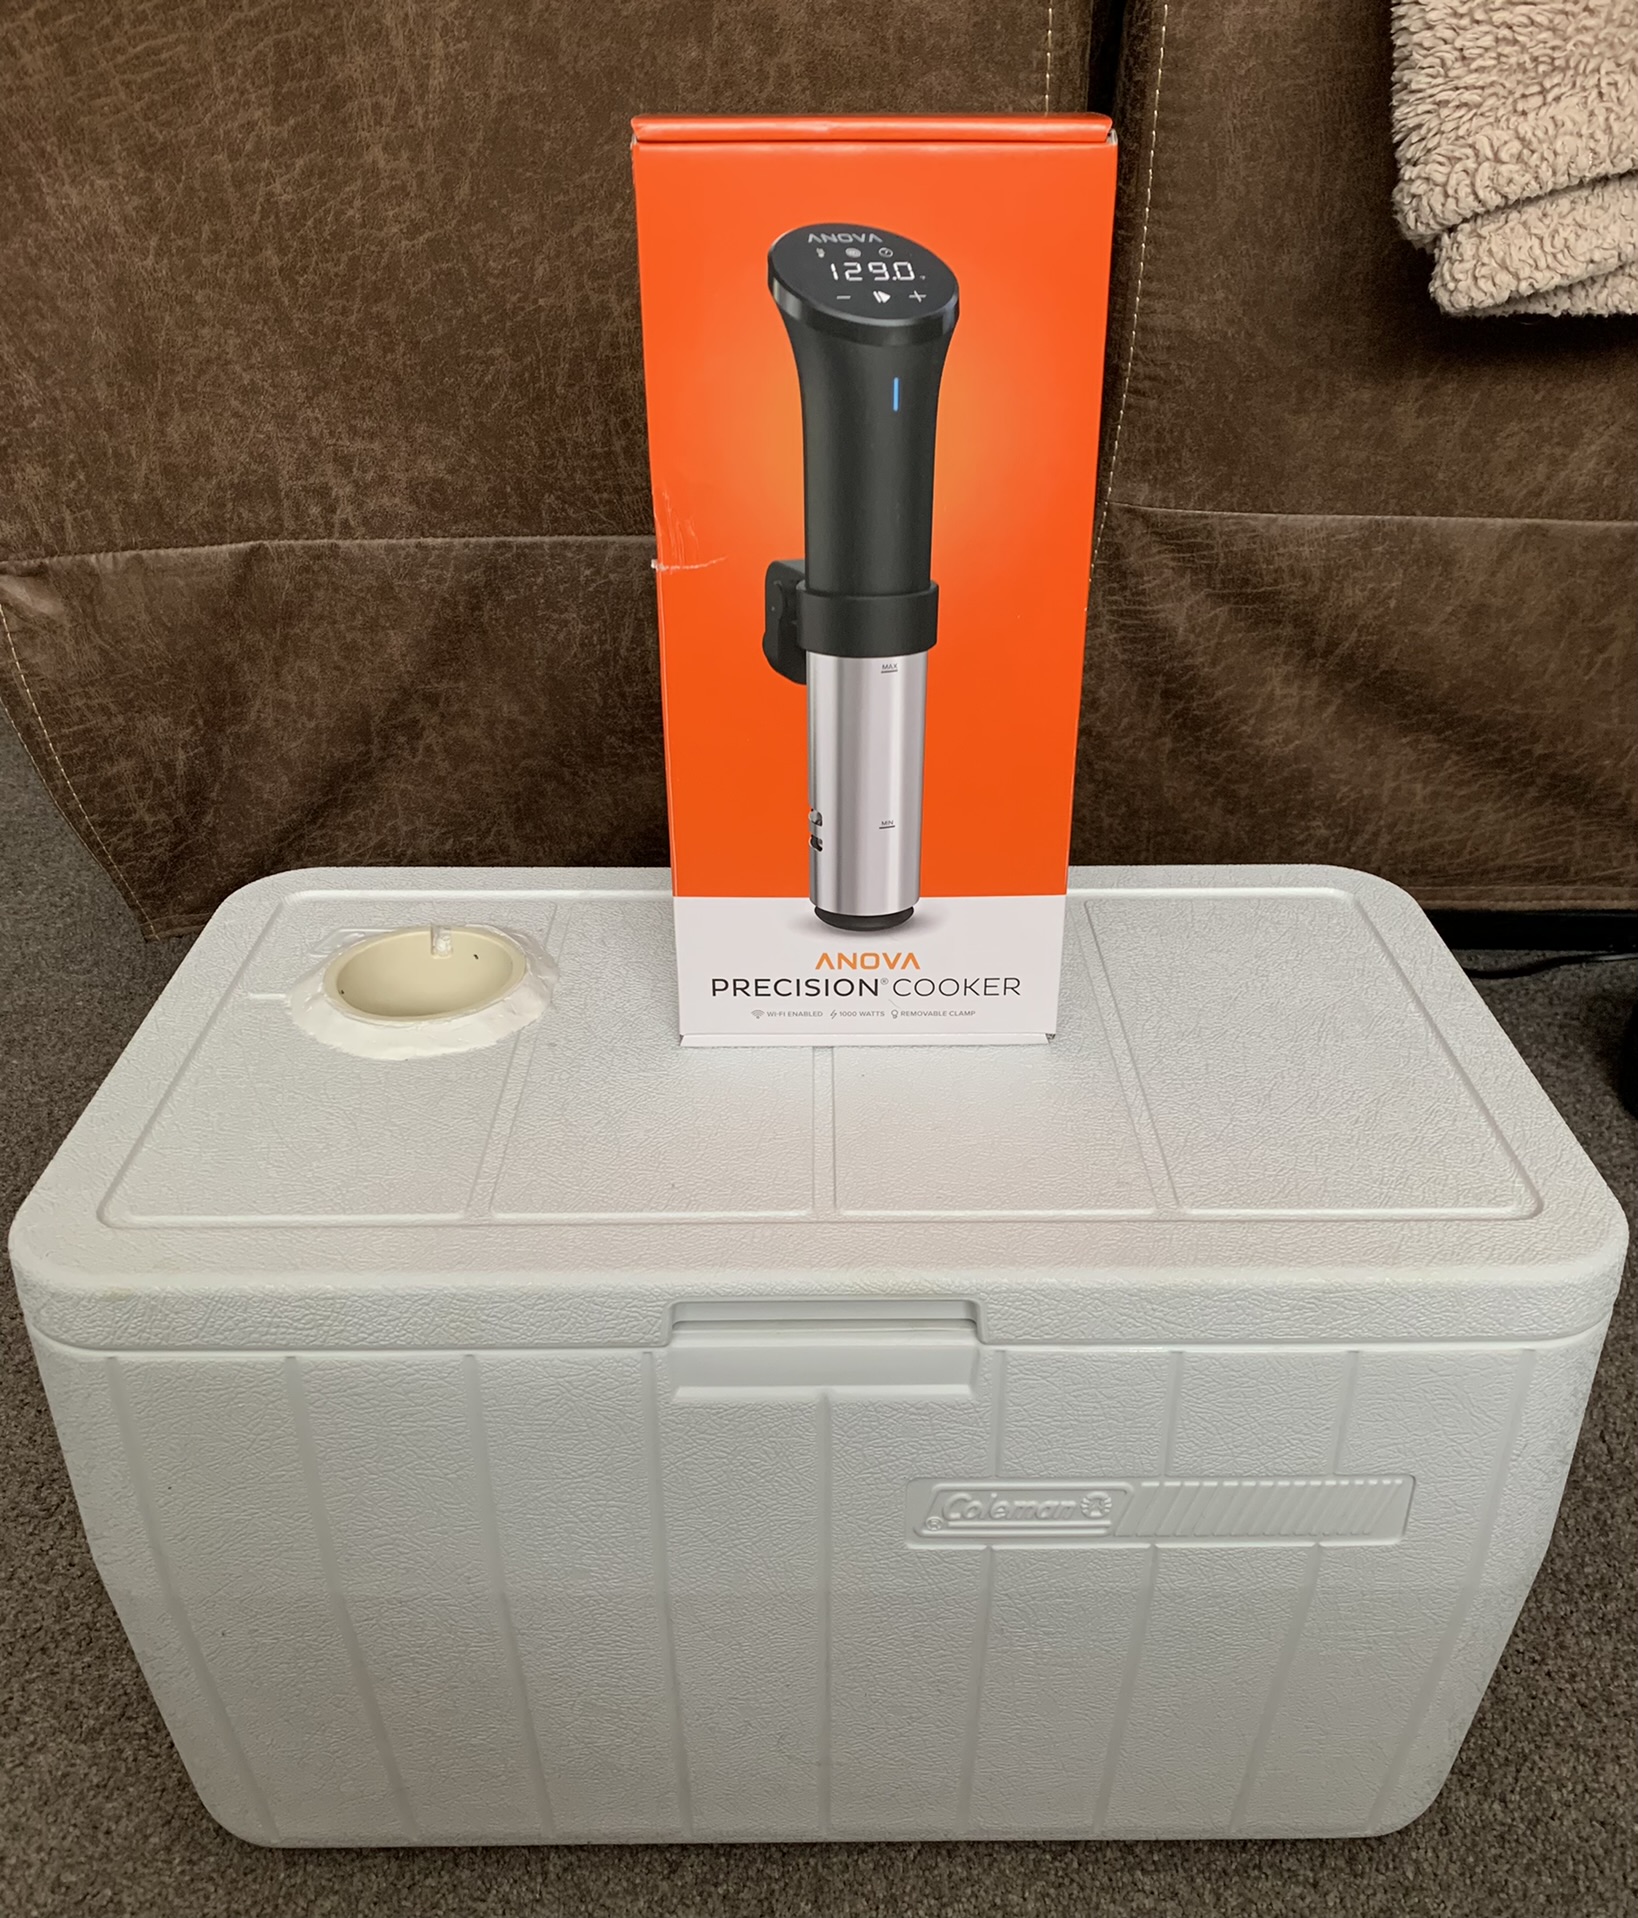
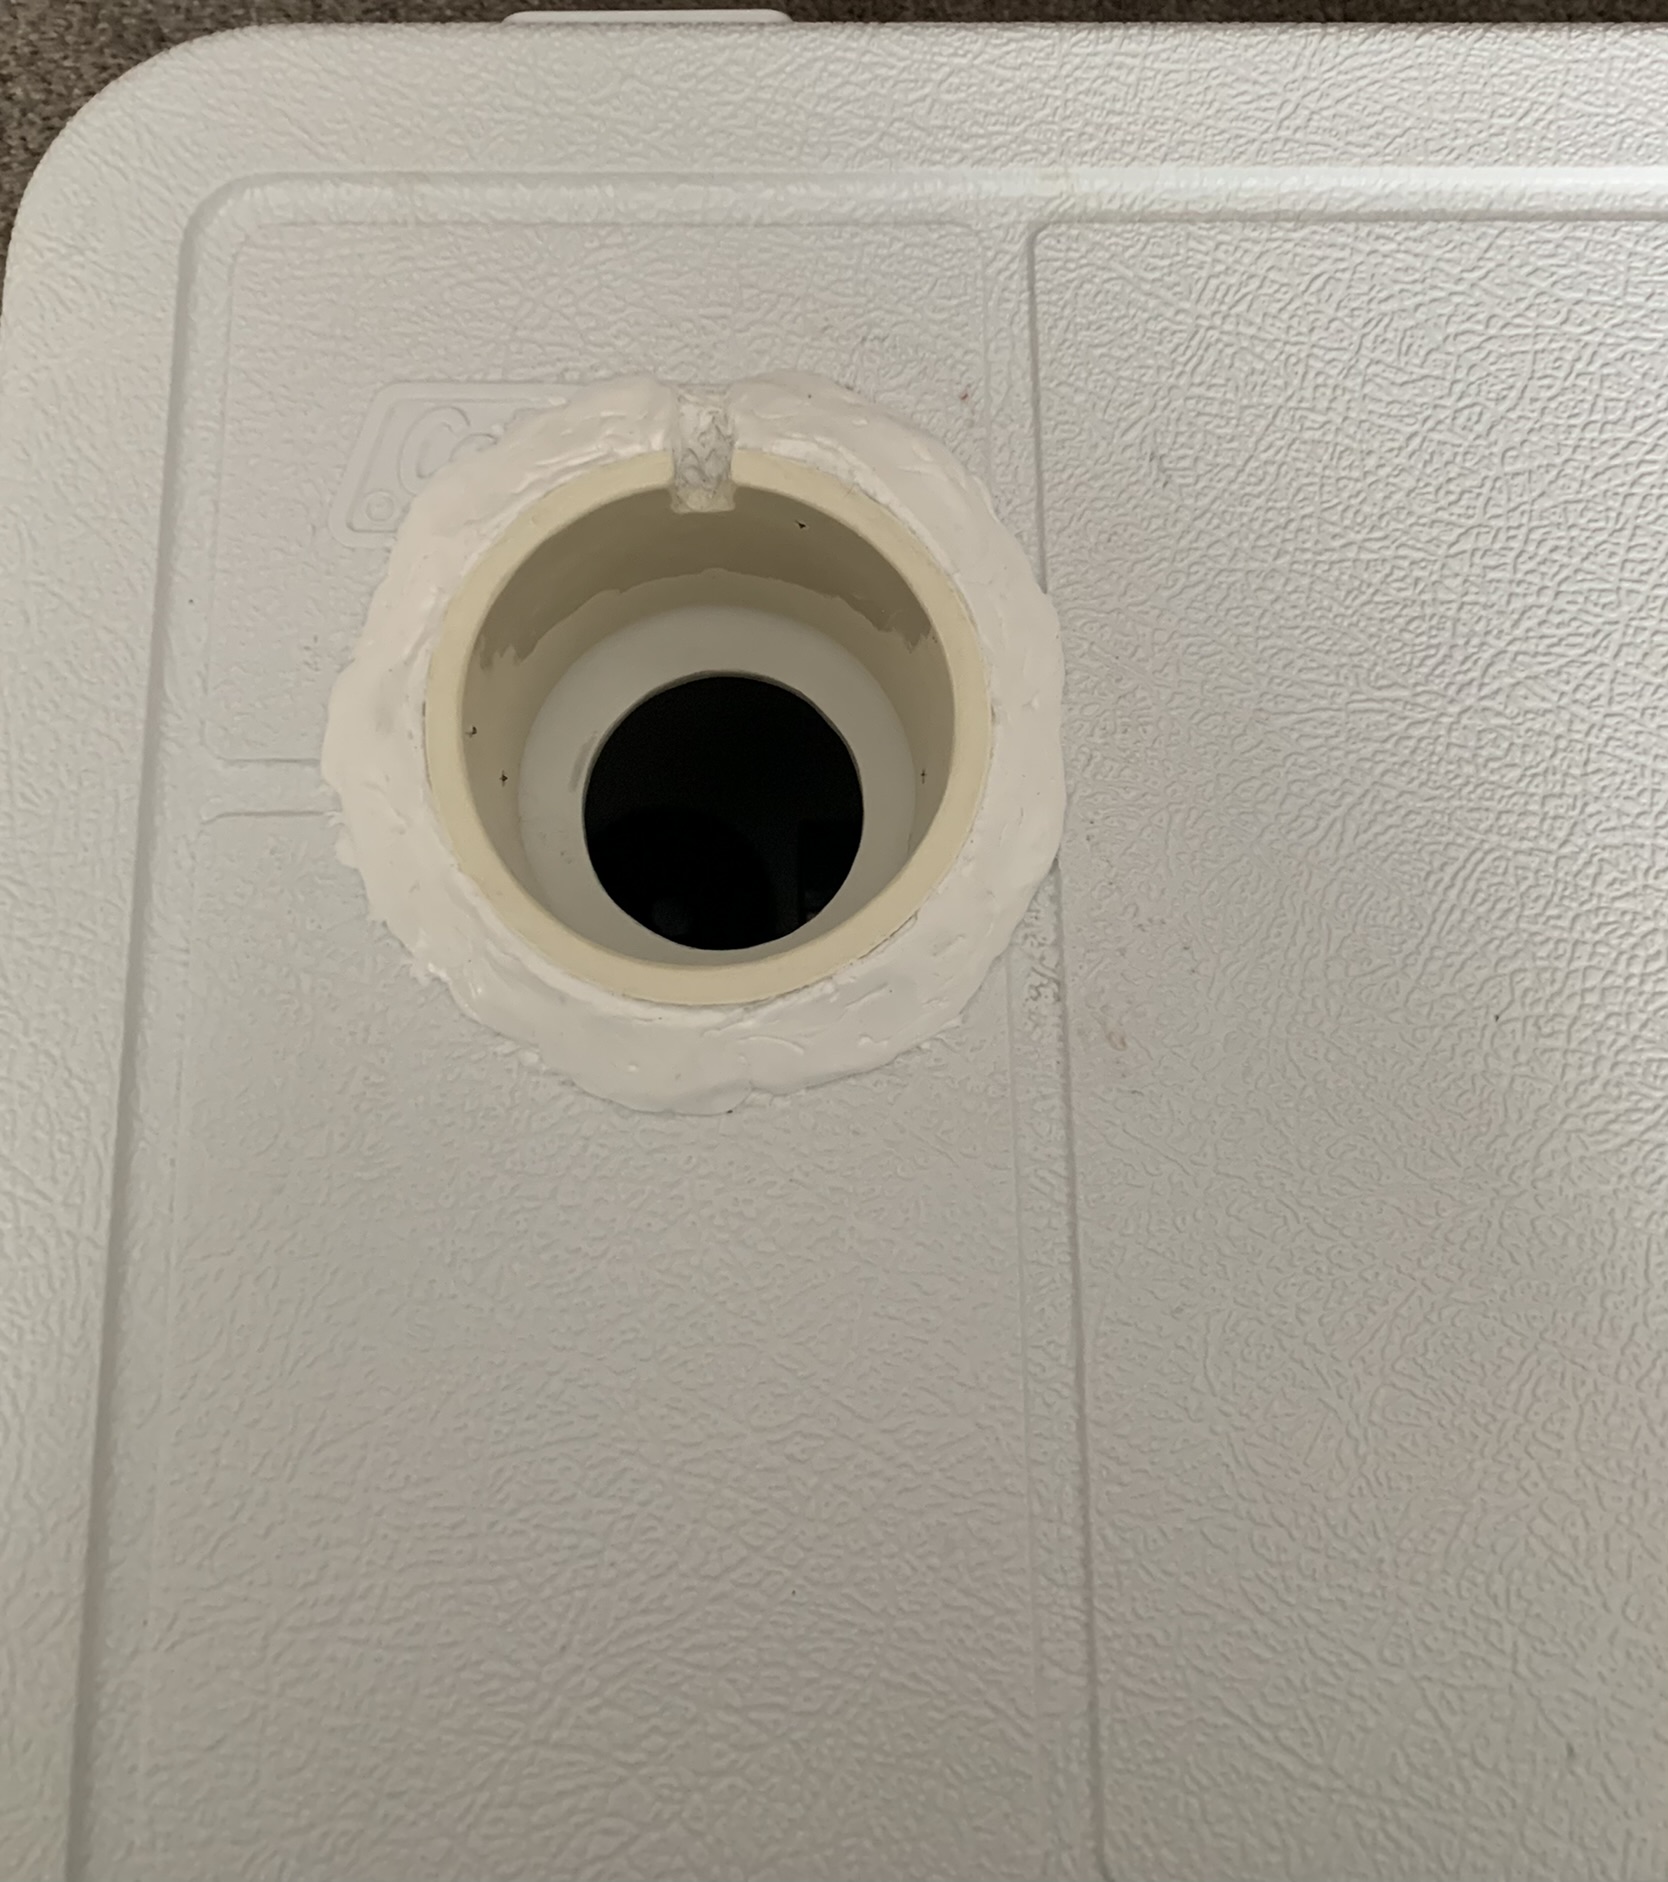
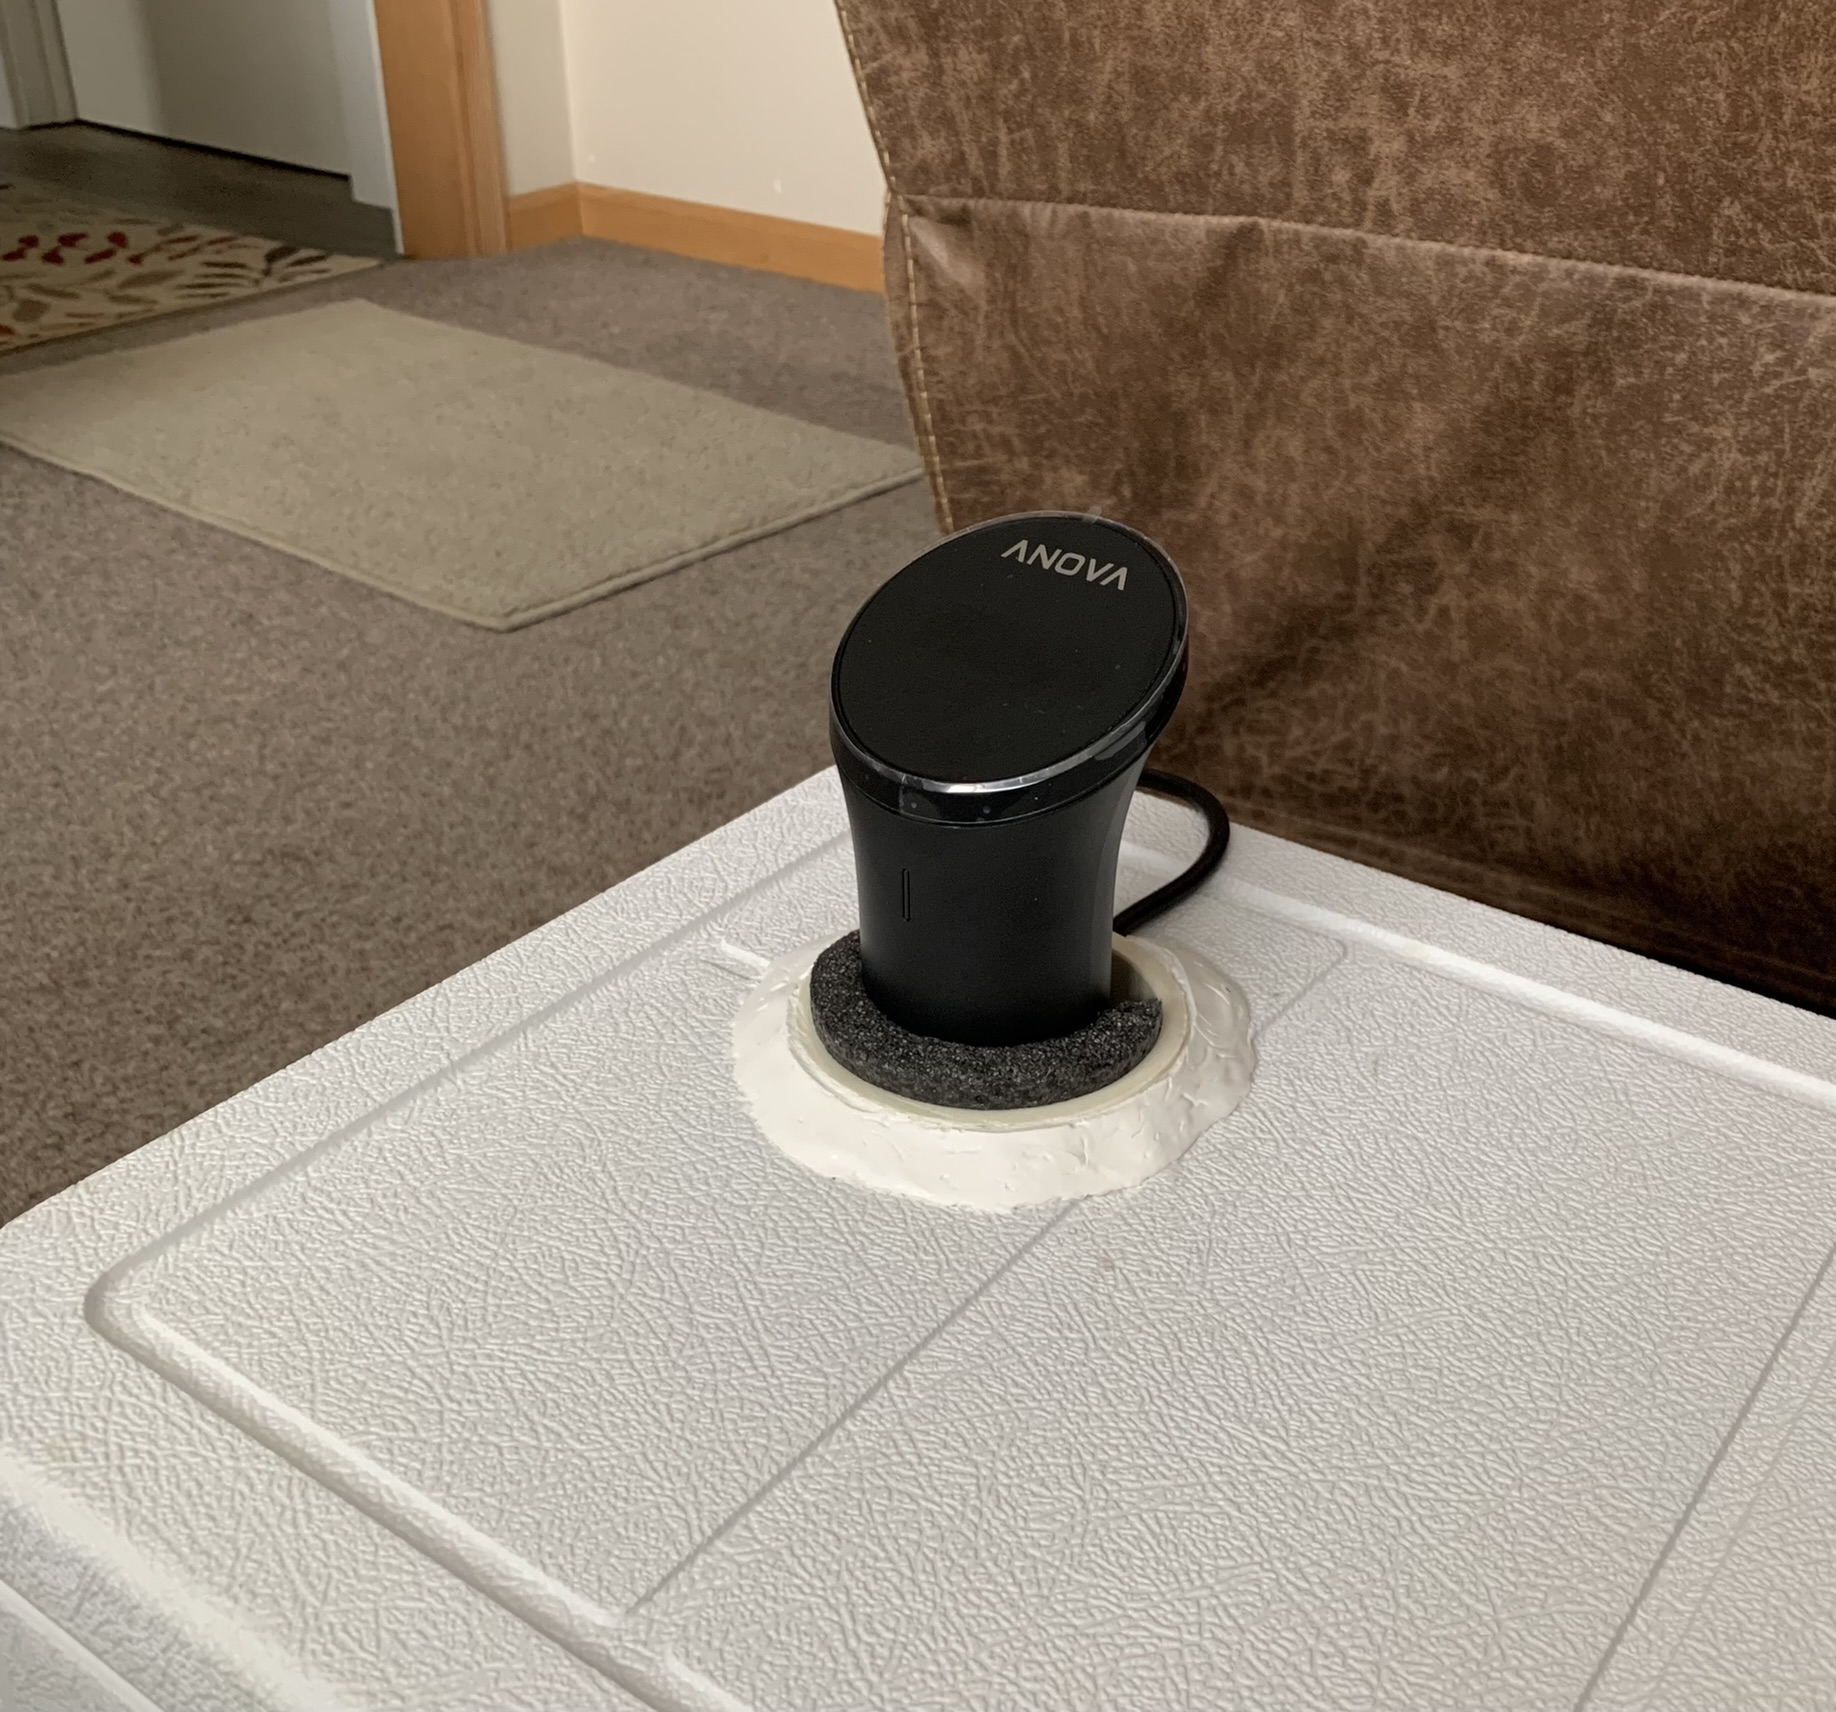
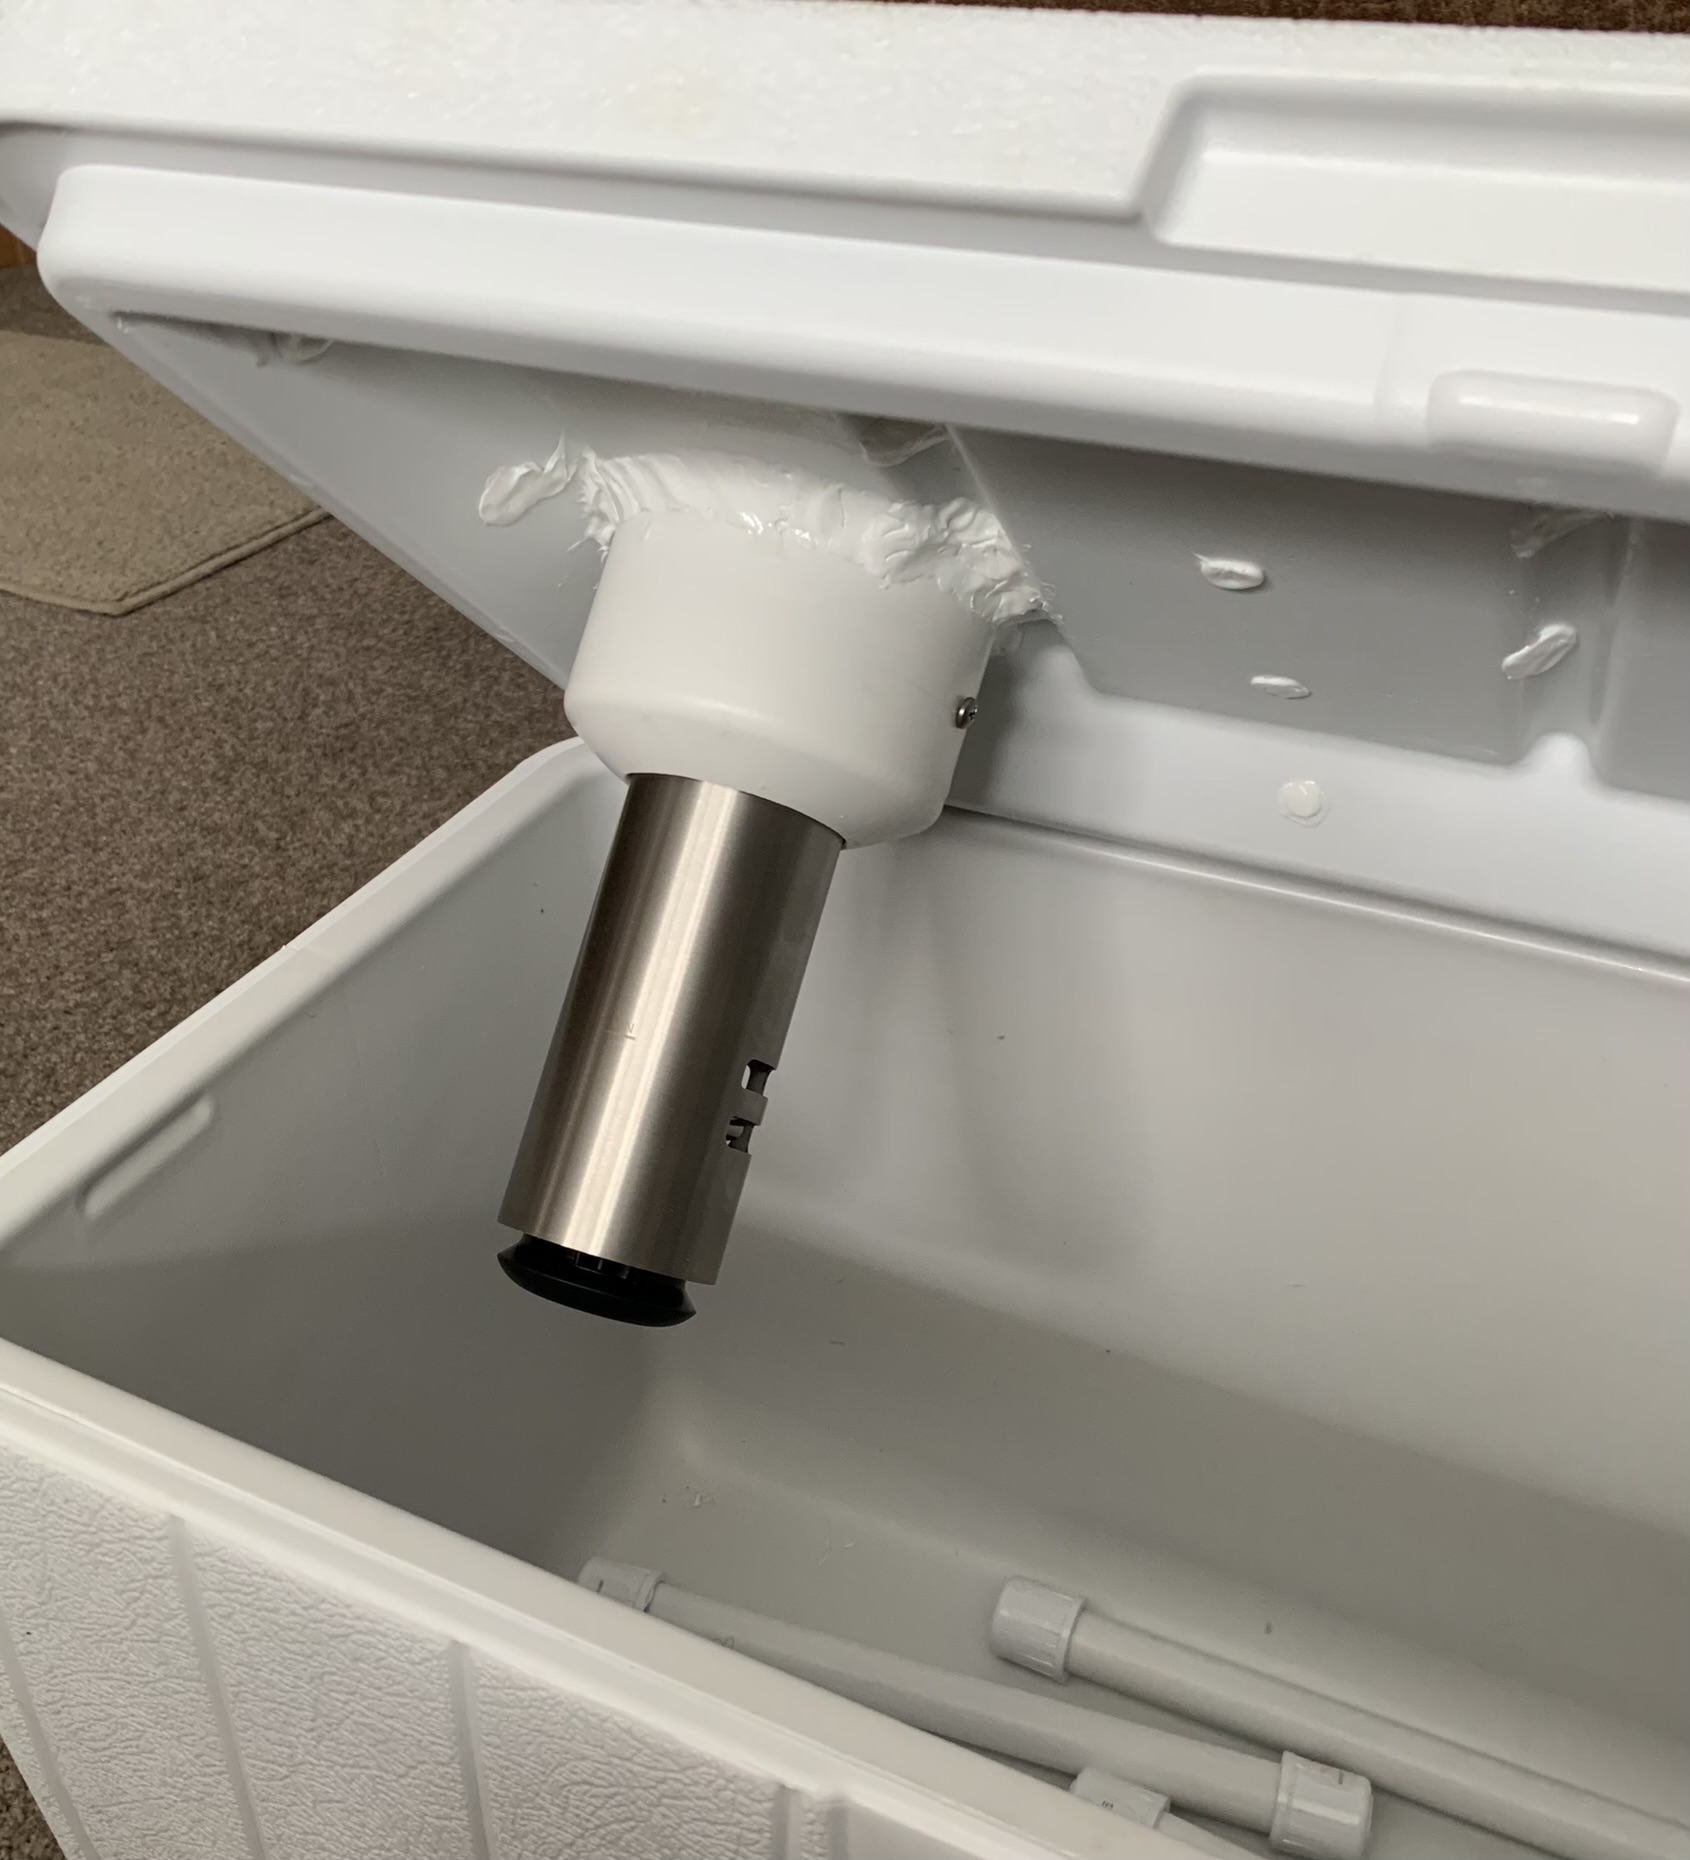
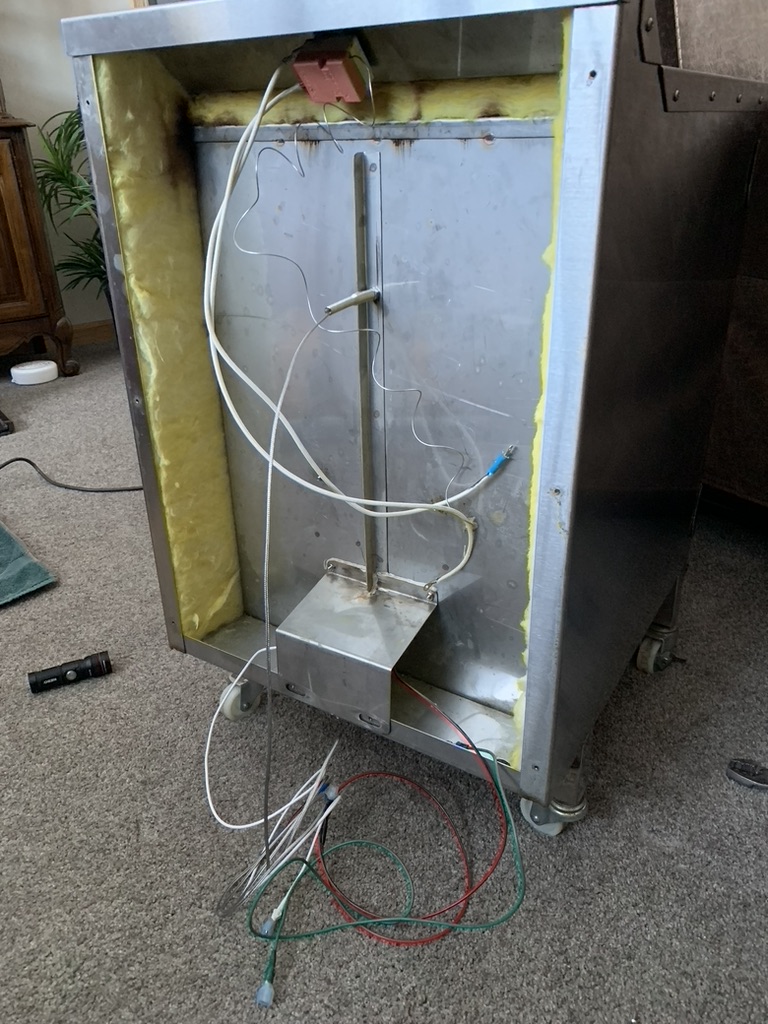
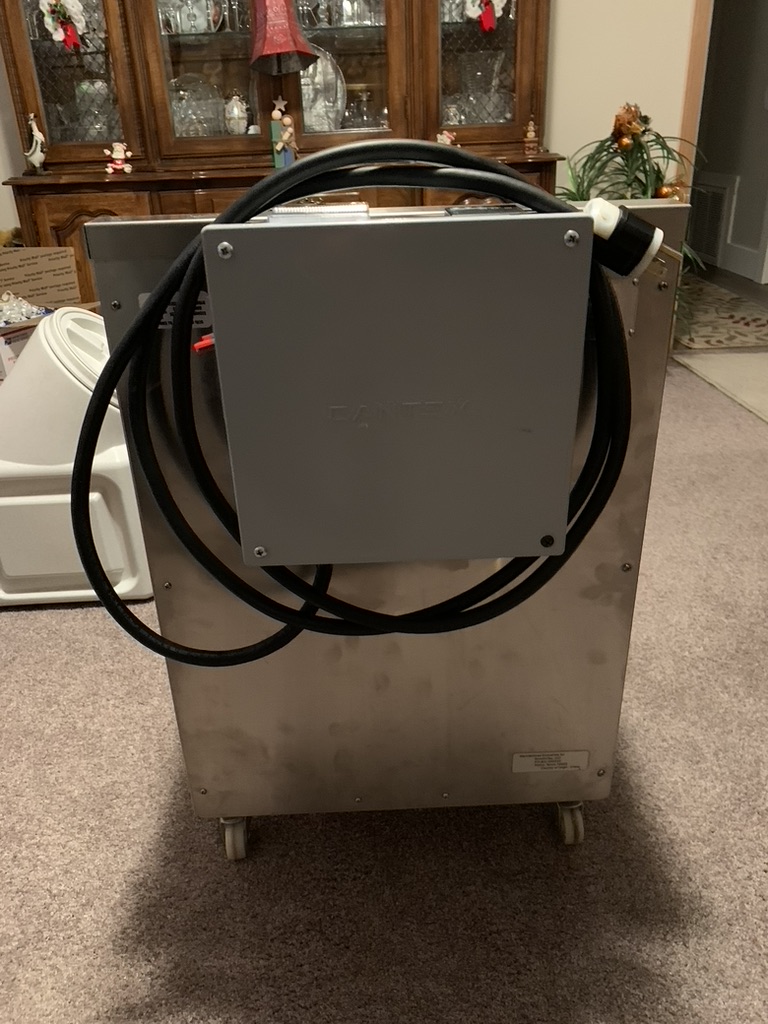
Hey everyone, it has been just a little since I’ve been here. The last time I was here I received LOTS of good information from everyone with respect to me beginning my Summer Sausage ‘making’. One of the pieces of advice that I received was a piece of equipment… a PID. Now, I knew nothing about a PID and am no electrician but I began doing a bit of internet research and am happy to report… I learned something. So, I jumped into this ‘Smoker Upgrade’ full bore! I now have my Smoker fully equipped with all the bells & whistles. Additionally, I, after reading all the comments about the benefits of using a Sous Vide cooker, I also followed that lead. Here are some pics of what I have been up to and how I actually got to this point… the point where I should simply get to making some Summer Sausage!
/Users/Ron/Pictures/Ron’s Photos Library.photoslibrary/resources/derivatives/8/86DC4FD5-E4DA-40B5-B820-2F0FE50C7C8F_1_105_c.jpeg
/Users/Ron/Pictures/Ron’s Photos Library.photoslibrary/resources/derivatives/F/F63EBF04-E313-4DCC-80B8-D391F3644F83_1_105_c.jpeg
/Users/Ron/Pictures/Ron’s Photos Library.photoslibrary/resources/derivatives/C/C1D14FB7-684C-414C-BF1A-7399F23817B5_1_105_c.jpeg
/Users/Ron/Pictures/Ron’s Photos Library.photoslibrary/resources/derivatives/2/2AF7F694-ABAE-43E4-84A3-61798DE34465_1_105_c.jpeg
/Users/Ron/Pictures/Ron’s Photos Library.photoslibrary/resources/derivatives/1/1778B4AB-10D6-4D12-A592-6275A5C21798_1_105_c.jpeg
/Users/Ron/Pictures/Ron’s Photos Library.photoslibrary/resources/derivatives/2/2FA45809-9B76-4D4A-A557-C828858044FB_1_105_c.jpegRetired157 Outstanding job and glad you found George’s vids, he really brings the info done to the simple level. While there may not be a reason for a meter or your rig may be too much for some it is YOUR creation and I bet you had fun building it. I know that you learned a lot, so I’m happy to see your progress, now test it and give us some beautiful pics of meat.
-
Fair enough, I agree it’s kind of cool to know your heat element is drawing current showing that it is working
This spring I plan on converting my Masterbuilt electric to PID -
Retired157 Outstanding job and glad you found George’s vids, he really brings the info done to the simple level. While there may not be a reason for a meter or your rig may be too much for some it is YOUR creation and I bet you had fun building it. I know that you learned a lot, so I’m happy to see your progress, now test it and give us some beautiful pics of meat.
-
Thank You; Won’t be long and I’ll be joining everyone and ‘creating’ some of my own Summer Sausage… pics will be coming!
-
Fair enough, I agree it’s kind of cool to know your heat element is drawing current showing that it is working
This spring I plan on converting my Masterbuilt electric to PIDDo yourself a favor and find ‘George’ on You Tube… I think I searched ‘wiring a PID’. He has numerous videos from the basic design to those including a bit of ‘cool factor’. George is great at taking you all the way through… step by step.
-
Do yourself a favor and find ‘George’ on You Tube… I think I searched ‘wiring a PID’. He has numerous videos from the basic design to those including a bit of ‘cool factor’. George is great at taking you all the way through… step by step.
Retired157 said in Smoker Upgrade!:
Do yourself a favor and find ‘George’ on You Tube… I think I searched ‘wiring a PID’. He has numerous videos from the basic design to those including a bit of ‘cool factor’. George is great at taking you all the way through… step by step.
I agree 110% he does a fantastic job with PID’s and other cool stuff.
-
Retired157 , mrobisr, thanks I will do that. The wiring is pretty simple but I can always learn something and no use in re-inventing the wheel!
-
Retired157
/Users/Ron/Pictures/Ron’s Photos Library.photoslibrary/resources/derivatives/2/2AD9B916-BA8A-45B4-957A-2B55DB0C802E_1_102_a.jpeg
/Users/Ron/Pictures/Ron’s Photos Library.photoslibrary/resources/derivatives/B/B418E77D-E9CB-4D99-8FC1-33B7E5806CE5_1_102_a.jpeg
/Users/Ron/Pictures/Ron’s Photos Library.photoslibrary/resources/derivatives/3/3BCE4718-A23A-4F94-A8DD-513756A551E7_1_102_a.jpeg

/Users/Ron/Pictures/Ron’s Photos
/Users/Ron/Pictures/Ron’s Photos Library.photoslibrary/resources/derivatives/1/17947B7E-44BB-408F-B8E2-C3098D09DBC3_1_102_a.jpeg
/Users/Ron/Pictures/Ron’s Photos Library.photoslibrary/resources/derivatives/A/AC2012FB-5B22-4645-A7FA-C0986924733E_1_102_a.jpegRetired157 You have been busy, congrats on your builds.
-
Having an ammeter in the power circuit to the heating element does tell you something usefull that a simple indicator light does not. An ammeter measures the current going through the heating element.
IF your heating element were to fail, there would be no current flow through it and the meter would show this.
A simple indicator light only tells you that the controls are switching voltage on and off to the element, and the light would show this whether the element were working or not.
So an ammeter is kind of a built in diagnostic device for when the the smoker doesn’t heat properly. I probably would not add one to my smoker build, but I also have electrical test equipment that allows me to do the diagnostics without a built in meter.Paul








Hello! It looks like you're interested in this conversation, but you don't have an account yet.
Getting fed up of having to scroll through the same posts each visit? When you register for an account, you'll always come back to exactly where you were before, and choose to be notified of new replies (either via email, or push notification). You'll also be able to save bookmarks and upvote posts to show your appreciation to other community members.
With your input, this post could be even better 💗
Register LoginSponsored By:

