Smoker Upgrade!
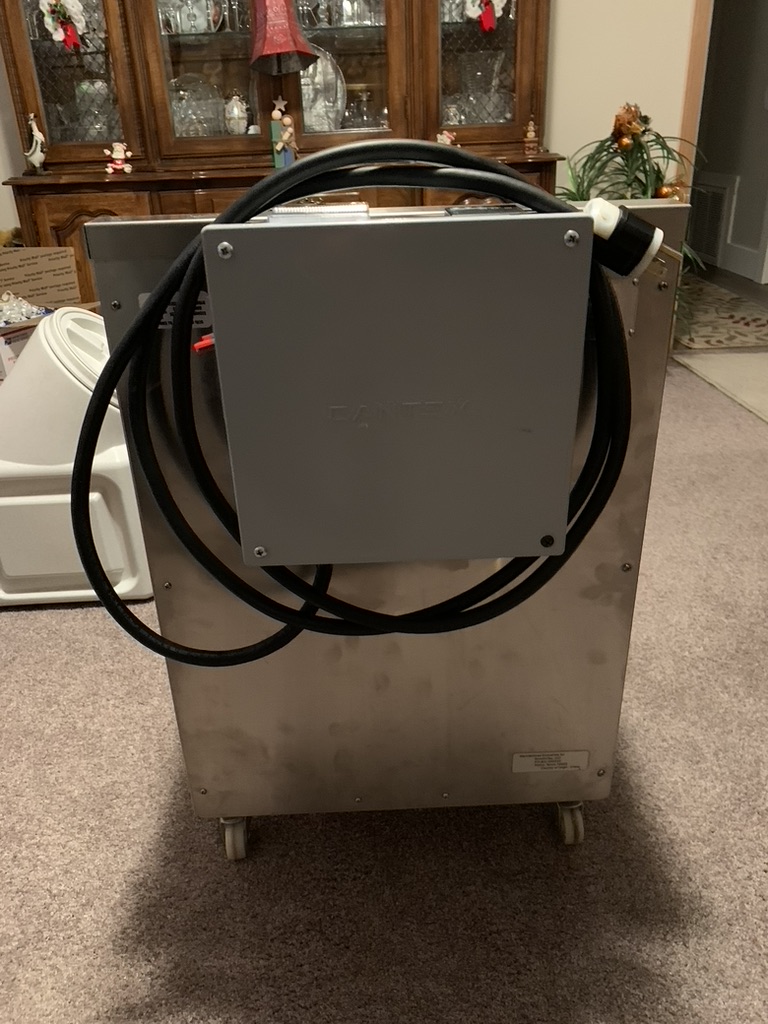
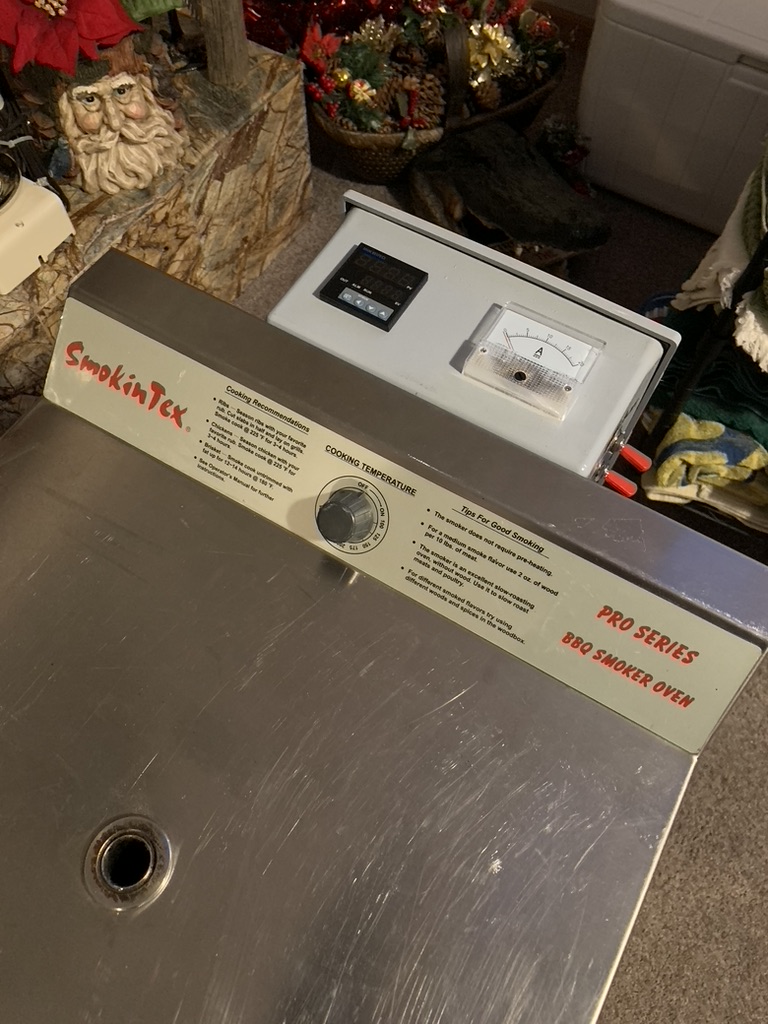
-
Dave in AZ That’s a cutie you have there. A quick learner, He already knows how to pose for the camera. He deserves a treat.
By the way, welcome to the Community. -
Wow, what a great thread. So much great knowledge and interesting builds! Plus all the wildlife etc.
Well, I spent all day reading about Sausages instead of making my snack sticks, just reading old threads and replying to a few… couldn’t let my attention wander too much and make sausage. This seems like a great place to explain why … NEW LAB PUPPY, HER FIRST DAY AT HOME!! Yep, spent the day puppy priofing house, cleaning up messes, bonding etc, and reading this great community!
Dave in AZ said in Smoker Upgrade!:
Wow, what a great thread. So much great knowledge and interesting builds! Plus all the wildlife etc.
Well, I spent all day reading about Sausages instead of making my snack sticks, just reading old threads and replying to a few… couldn’t let my attention wander too much and make sausage. This seems like a great place to explain why … NEW LAB PUPPY, HER FIRST DAY AT HOME!! Yep, spent the day puppy priofing house, cleaning up messes, bonding etc, and reading this great community!
Sounds like a great way to spend a day. Enjoy your pup.
-
Dave in AZ beautiful puppy thanks for sharing

-
I agree, this is an awesome thread. I learned a lot. I only had a 30 inch tall smoker and was handcuffed to the length of sausage I could hang.
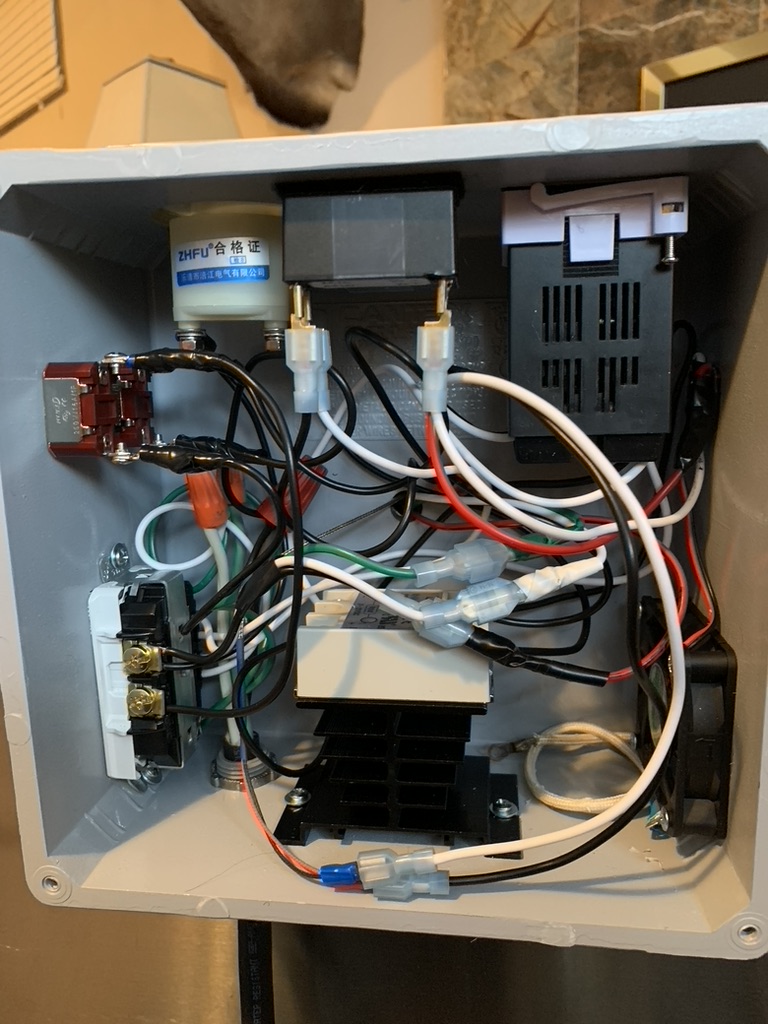
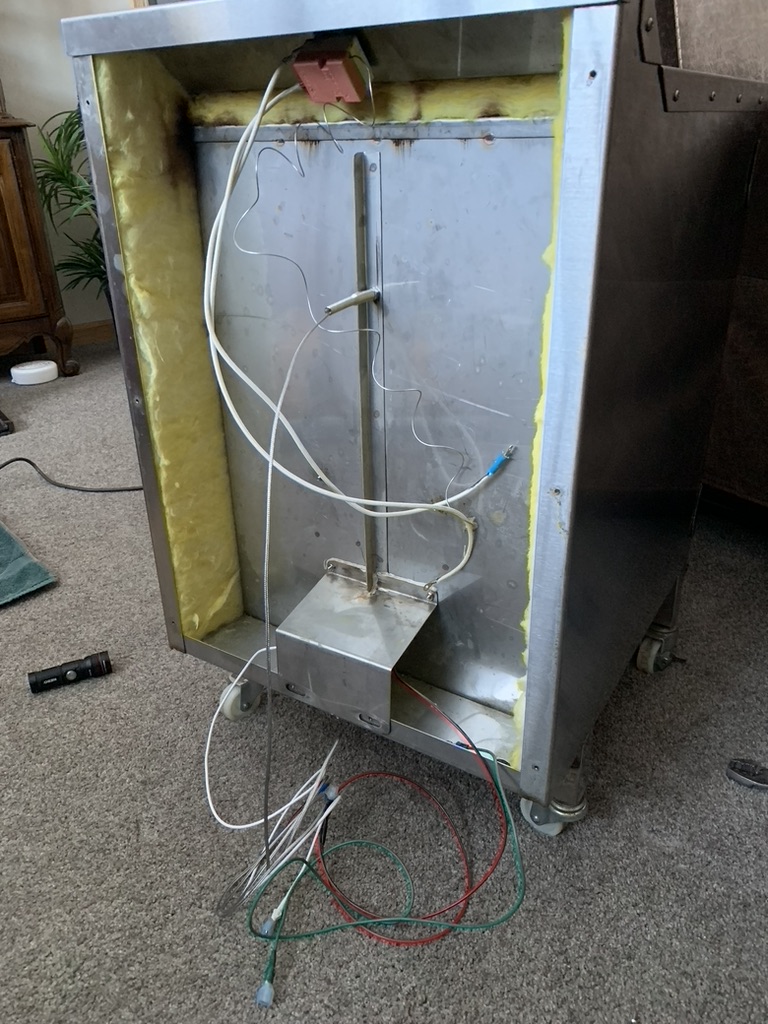
I cut the legs off and welded up a box to replace them. Switched from propane to electric and added a thermal blanket enclosing all in wood. I had a Bradley smoke generator hanging around so I mounted that also. Build a PID thanks to this thread!!!
I’m almost finished with this build, I need to add a fan. I promise to add pictures when I finish this with some sausage photos. -
I agree, this is an awesome thread. I learned a lot. I only had a 30 inch tall smoker and was handcuffed to the length of sausage I could hang.
I cut the legs off and welded up a box to replace them. Switched from propane to electric and added a thermal blanket enclosing all in wood. I had a Bradley smoke generator hanging around so I mounted that also. Build a PID thanks to this thread!!!
I’m almost finished with this build, I need to add a fan. I promise to add pictures when I finish this with some sausage photos.scottfletcher Holding you to those pictures. Always interesting to see the homemade modifications people do to enhance their equipment.
-
The more I read, them more I’m leaning to a PID temp controlled chamber with convection recirc fan to ensure even temps throughout, electric and just add an external smoke generator. Probably Bellas cold smoke generator by Smokin It. I need to read more and ask more… but all the smoker needs to do is accurate and even temp control 60 to 180 deg or so, those smoke gens put out good for 8 hrs, plenty enough smoke. Then add some humidifier PID sensor and feed to it. I live in AZ, so not a lot of heat generation needed…
I just am not finding a commercial ready made one with both humidity and temp, am I missing an obvious one? -
The more I read, them more I’m leaning to a PID temp controlled chamber with convection recirc fan to ensure even temps throughout, electric and just add an external smoke generator. Probably Bellas cold smoke generator by Smokin It. I need to read more and ask more… but all the smoker needs to do is accurate and even temp control 60 to 180 deg or so, those smoke gens put out good for 8 hrs, plenty enough smoke. Then add some humidifier PID sensor and feed to it. I live in AZ, so not a lot of heat generation needed…
I just am not finding a commercial ready made one with both humidity and temp, am I missing an obvious one?Dave in AZ I use a inkbird to control my smoker. Since the inkbird wiring cant take the 15amp load of the smoker, it controls a relay box. That 20amp relay let’s the outlet connect to the smoker. By putting the temp probe near the heating element I can control temps ± 5degrees. Inkbird also make a humidity controller but with a water pan and chamois rags my Rh seems adequate. Either temp or humid is about 30 bucks on offer up or marketplace.
-
samspade I am curious about your temp probe location near the element? Have you monitored your chamber temperature with a separate external temp probe at a few locations in the chamber to see how close they are to the set point? I see you are using an ink bird controller. Which one, and is it a PID?
Dave in AZ I have been sort of thinking about humidity control as well. I am not aware of any off-the-shelf solutions for smokers that out there either.Paul
-
samspade I am curious about your temp probe location near the element? Have you monitored your chamber temperature with a separate external temp probe at a few locations in the chamber to see how close they are to the set point? I see you are using an ink bird controller. Which one, and is it a PID?
Dave in AZ I have been sort of thinking about humidity control as well. I am not aware of any off-the-shelf solutions for smokers that out there either.processhead I use the ITC310C. It’s a 12 time/temp stage unit. So I can set my whole cook up and just walk away.
My masterbuilt draws 15 amps I think and the inkbird can only handle 10-12amps.
We made box that plugs into the outlet has one 120 receptical on the box, a 20amp rated relay attached to a 20amp rated cord with female plug. The the on/off relay connects to a cord and plug that attaches to the inkbird heating-cooling female plug.The temp probe goes in the open door and sits very close to the heating element.
Once the smoker has warmed up (usually 130 to 140) I plug everything together. The pod will turn the element on and off every 1-2 mins as it sees the temp increasing rapidly. Since the element stays warm for a while after it looses power the temp falls slowly until the pid turns back on.
It works really well.Oh, when I start I have the smoker directly connected to the wall and turned to about 140. When its warmed up I unplug it and plug everything together.
Temps from both wireless and wired probes show the temps stay close to program you just have to find the sweet spot for the temp prob. To close to the element and it does not get to the desired temp. To far and you get wide swings.
-
samspade I am curious about your temp probe location near the element? Have you monitored your chamber temperature with a separate external temp probe at a few locations in the chamber to see how close they are to the set point? I see you are using an ink bird controller. Which one, and is it a PID?
Dave in AZ I have been sort of thinking about humidity control as well. I am not aware of any off-the-shelf solutions for smokers that out there either.processhead oh the only thing is the temp probe and unit are limited to 225 so higher cooks wont work but it’s great for thing low a slow.
-
Ok John… as I sit here waiting on the mailman, I’ve been getting things laid out in the garage and running around town a little. Here’s my ‘stuff’ as I prepare for the big day tomorrow.
 /Users/Ron/Pictures/Ron’s Photos Library.photoslibrary/resources/renders/6/6287D7D2-FA00-4EC1-B08A-FBAD4832F9B8_1_201_a.jpeg
Just trying to make sure that everything I will need is out where I can get to it. I have all the grinder parts in the freezer so they’ll be cold. Do I lube them before the freezer trick or after… ?
I’ve got all my meat out and thawing. I’ll watch it as the day goes on and put it in the refrigerator before it completely thaws… trying to keep it frosty.
Got my wood, Hickory, ready for the smoker when the time comes. I’m going to use those ‘disposable’ baking pans for water/humidity for the smoker. Went and got a couple of sponges to aid in the evaporation process; even ‘equipped’ them with two ‘wicks’ each… just thought it might help keeping that ‘upward’ draw. Here’s a pic…
 /Users/Ron/Pictures/Ron’s Photos Library.photoslibrary/resources/renders/9/92A45C39-9270-40C0-9E95-EF54C0FD556A_1_201_a.jpeg
Yes; I even made myself a ‘fake’ SS… just trying to get the ‘fit’ right both here in the smoker and also my Sous Vide cooler cooker.
Just about ready to measure/weigh out my spices & additive’s. I have to run back to the store and grab two bags of ice; forgot that as I was out but hey, I did remember the beer!
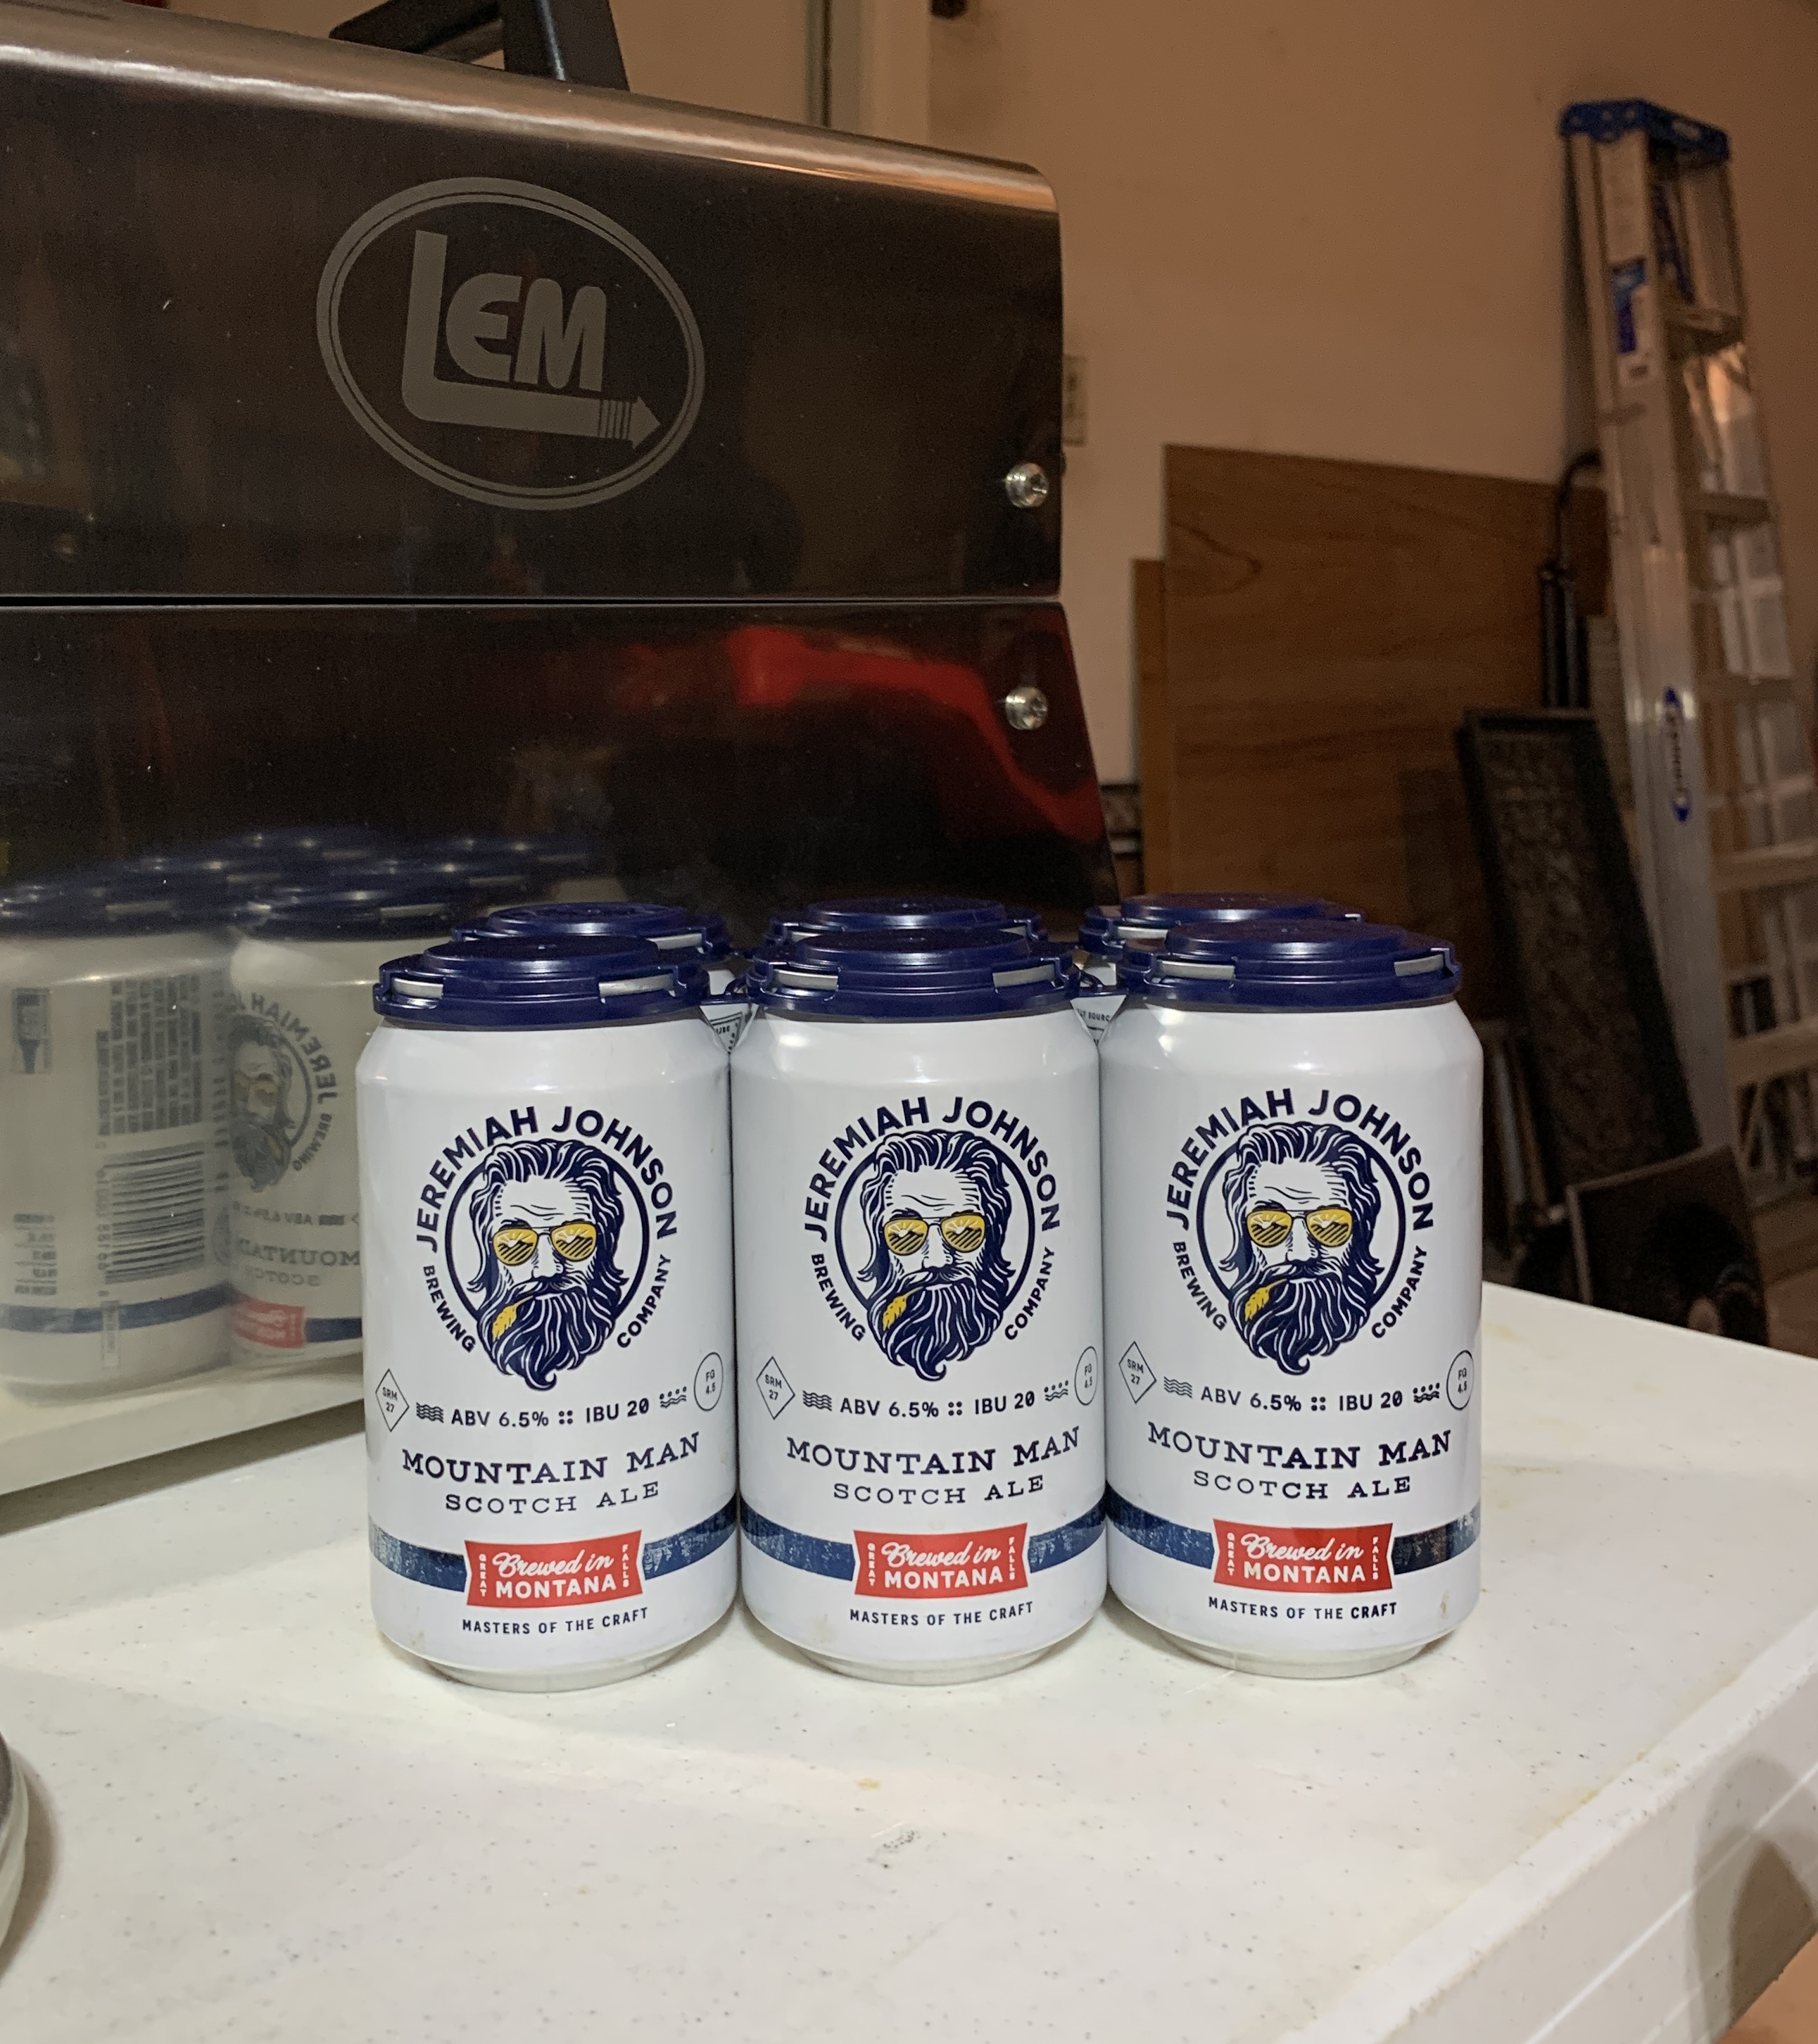 /Users/Ron/Pictures/Ron’s Photos Library.photoslibrary/resources/renders/B/B83E80A7-B2C2-462A-9255-67FEA443D7DE_1_201_a.jpeg
If you think I’m missing anything, speak up now or forever hold your beer!
Retired157 What is the light bulb for?
Denny O’s-Smokey Bones
I’d rather be sit’in in a boat and thinking about God,
Than sit’n in church and thinking about fish’in! -
Retired157 What is the light bulb for?
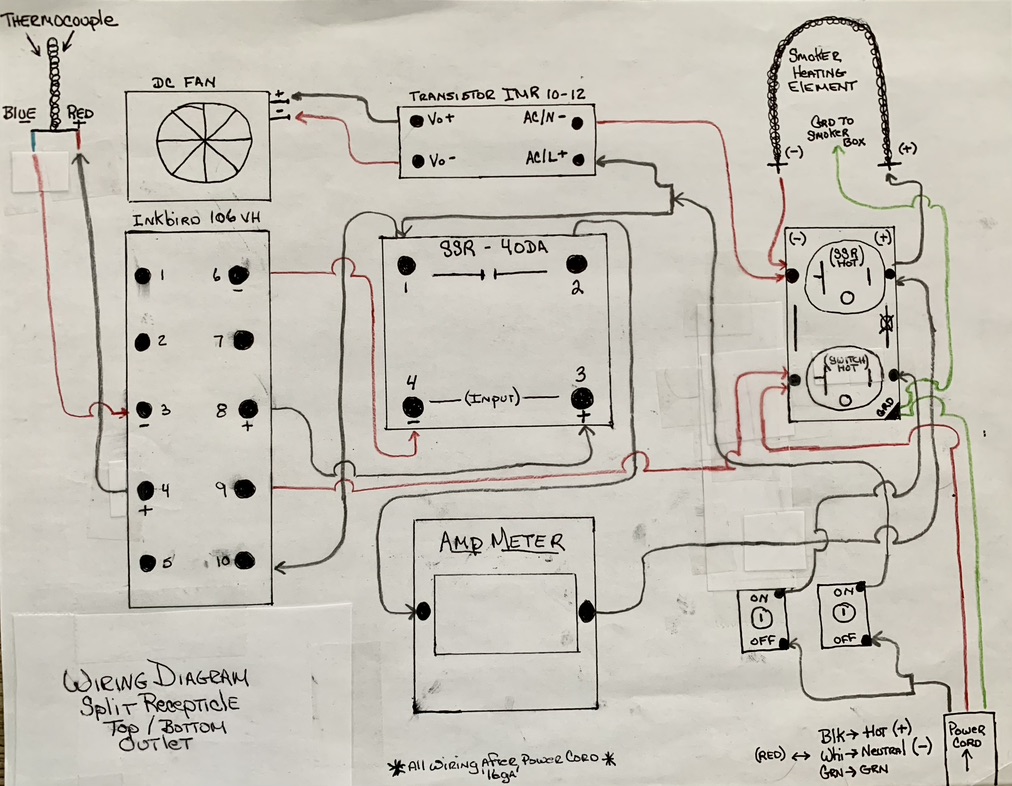
@dennyo The light is (just) a visual confirmation that everything is working. So, when the PID decides that ‘power’ is needed and turns on that power to the heating element of the smoker, the light bulb comes on. Is this really needed… maybe not. I will tell you that after doing this upgrade to my smoker and making my first batch of SS, I found being able to (see) all the parts & pieces as they were working was actually very interesting. Not only could I see how long the PID was directing power to the heating element, I could see ‘how long’ the power was being applied. Would I wire my smoker upgrade this way if I were to do it again… YEP! I really like that visual (understanding) confirmation.
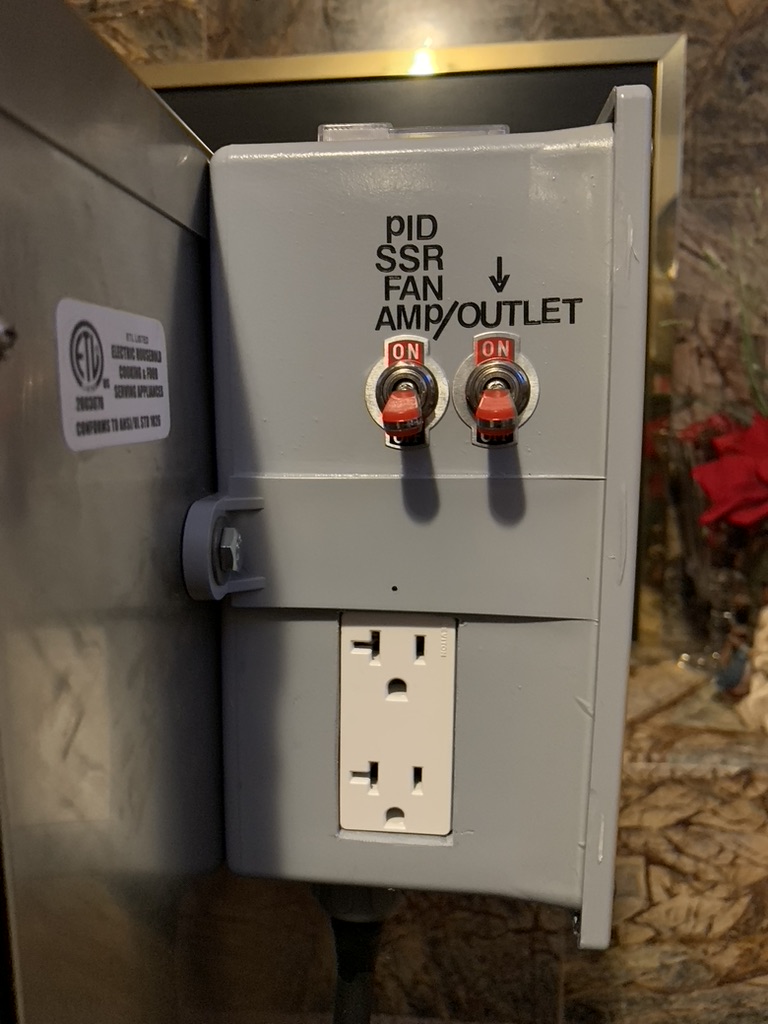
Hope that helps. Just so you know, you do have to separate the two ‘sockets’ of the outlet itself to make this work. My upper socket of the outlet is wired with the PID so as to ONLY have a power supply when the PID itself directs power to the heating element. My lower socket of the outlet is simply ‘powered on’ (constant) when I plug my smoker in.
-
@dennyo The light is (just) a visual confirmation that everything is working. So, when the PID decides that ‘power’ is needed and turns on that power to the heating element of the smoker, the light bulb comes on. Is this really needed… maybe not. I will tell you that after doing this upgrade to my smoker and making my first batch of SS, I found being able to (see) all the parts & pieces as they were working was actually very interesting. Not only could I see how long the PID was directing power to the heating element, I could see ‘how long’ the power was being applied. Would I wire my smoker upgrade this way if I were to do it again… YEP! I really like that visual (understanding) confirmation.
Hope that helps. Just so you know, you do have to separate the two ‘sockets’ of the outlet itself to make this work. My upper socket of the outlet is wired with the PID so as to ONLY have a power supply when the PID itself directs power to the heating element. My lower socket of the outlet is simply ‘powered on’ (constant) when I plug my smoker in.
Retired157 said in Smoker Upgrade!:
@dennyo The light is (just) a visual confirmation that everything is working. So, when the PID decides that ‘power’ is needed and turns on that power to the heating element of the smoker, the light bulb comes on. Is this really needed… maybe not. I will tell you that after doing this upgrade to my smoker and making my first batch of SS, I found being able to (see) all the parts & pieces as they were working was actually very interesting. Not only could I see how long the PID was directing power to the heating element, I could see ‘how long’ the power was being applied. Would I wire my smoker upgrade this way if I were to do it again… YEP! I really like that visual (understanding) confirmation.
Hope that helps. Just so you know, you do have to separate the two ‘sockets’ of the outlet itself to make this work. My upper socket of the outlet is wired with the PID so as to ONLY have a power supply when the PID itself directs power to the heating element. My lower socket of the outlet is simply ‘powered on’ (constant) when I plug my smoker in.
I like some sort of visual indicator on control circuits like this. Sometimes the output LED on the PID controller is enough. It’s really helpful while tuning the PID to see whats going on and for troubleshooting problems.
-
I was thinking that was what it was for, But thought I’d ask.
-
Retired157 said in Smoker Upgrade!:
@dennyo The light is (just) a visual confirmation that everything is working. So, when the PID decides that ‘power’ is needed and turns on that power to the heating element of the smoker, the light bulb comes on. Is this really needed… maybe not. I will tell you that after doing this upgrade to my smoker and making my first batch of SS, I found being able to (see) all the parts & pieces as they were working was actually very interesting. Not only could I see how long the PID was directing power to the heating element, I could see ‘how long’ the power was being applied. Would I wire my smoker upgrade this way if I were to do it again… YEP! I really like that visual (understanding) confirmation.
Hope that helps. Just so you know, you do have to separate the two ‘sockets’ of the outlet itself to make this work. My upper socket of the outlet is wired with the PID so as to ONLY have a power supply when the PID itself directs power to the heating element. My lower socket of the outlet is simply ‘powered on’ (constant) when I plug my smoker in.
I like some sort of visual indicator on control circuits like this. Sometimes the output LED on the PID controller is enough. It’s really helpful while tuning the PID to see whats going on and for troubleshooting problems.
processhead It sure helps me… a beginner!





Hello! It looks like you're interested in this conversation, but you don't have an account yet.
Getting fed up of having to scroll through the same posts each visit? When you register for an account, you'll always come back to exactly where you were before, and choose to be notified of new replies (either via email, or push notification). You'll also be able to save bookmarks and upvote posts to show your appreciation to other community members.
With your input, this post could be even better 💗
Register LoginSponsored By:

