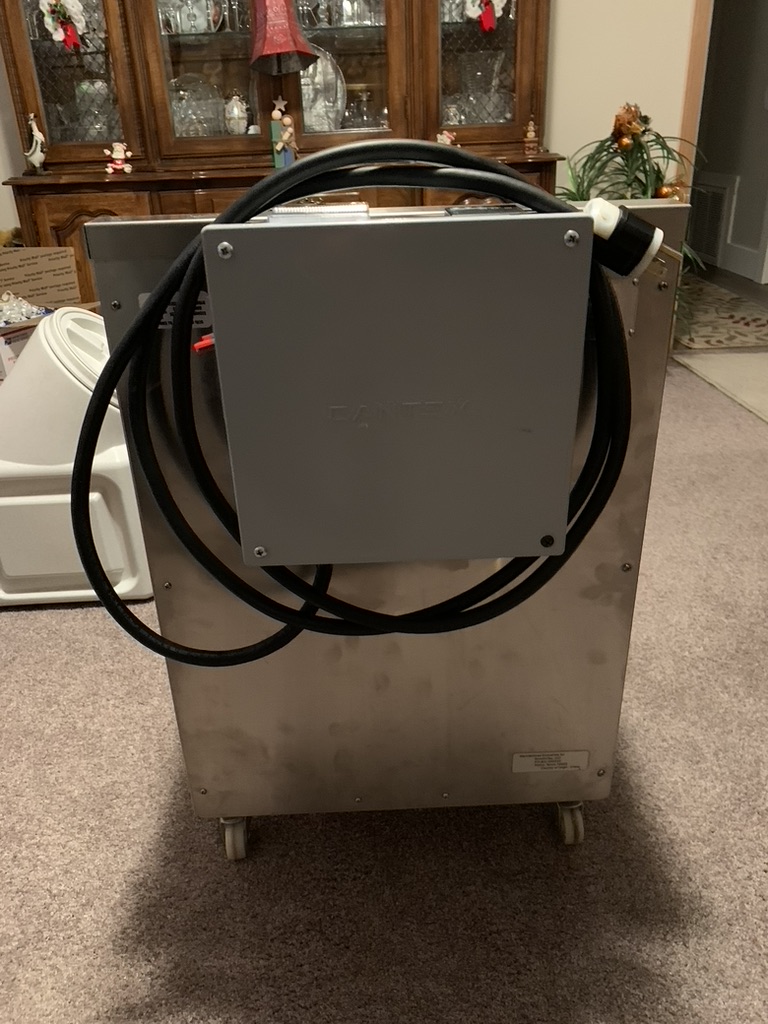
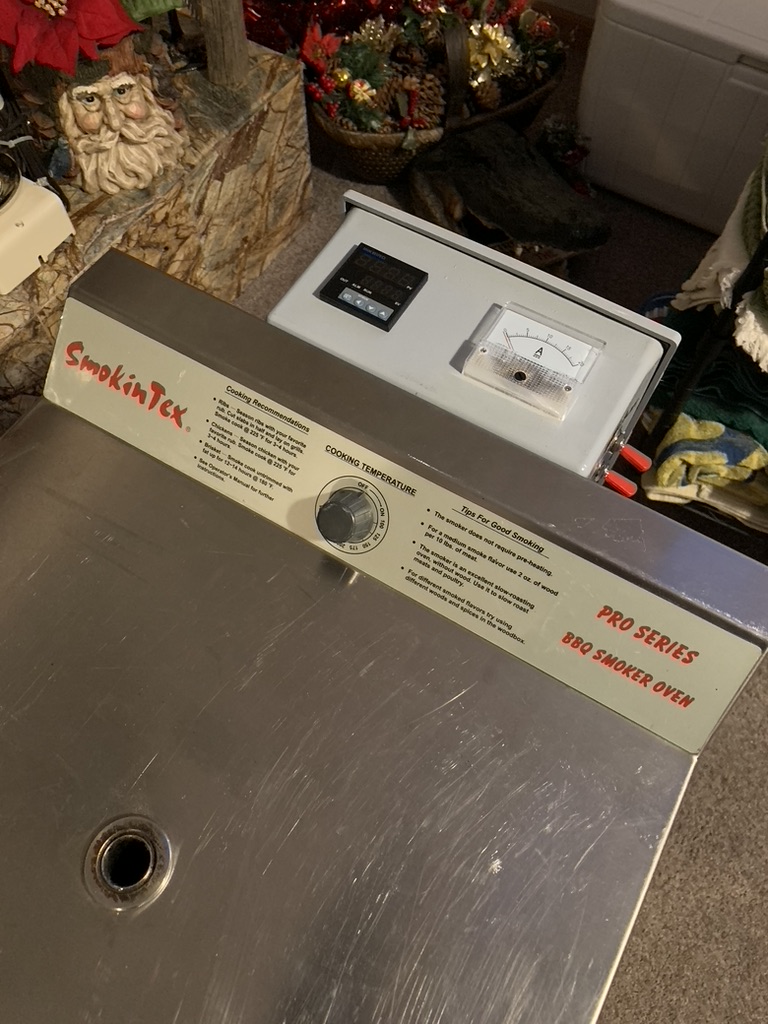
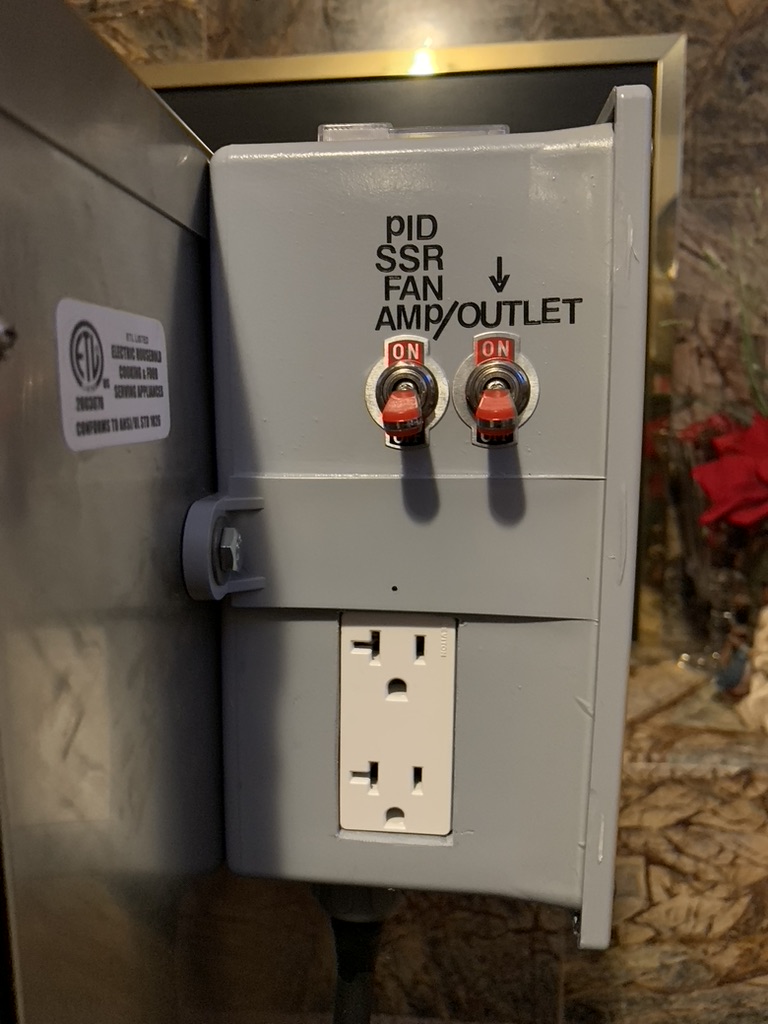
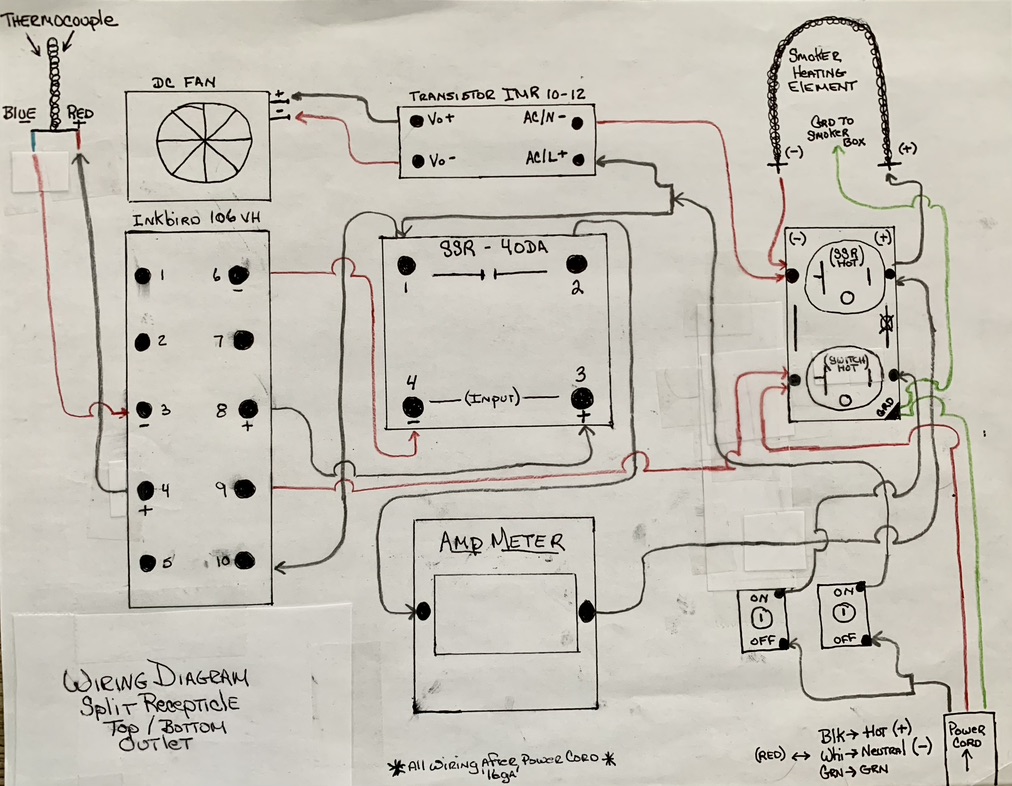
Smoker Upgrade!
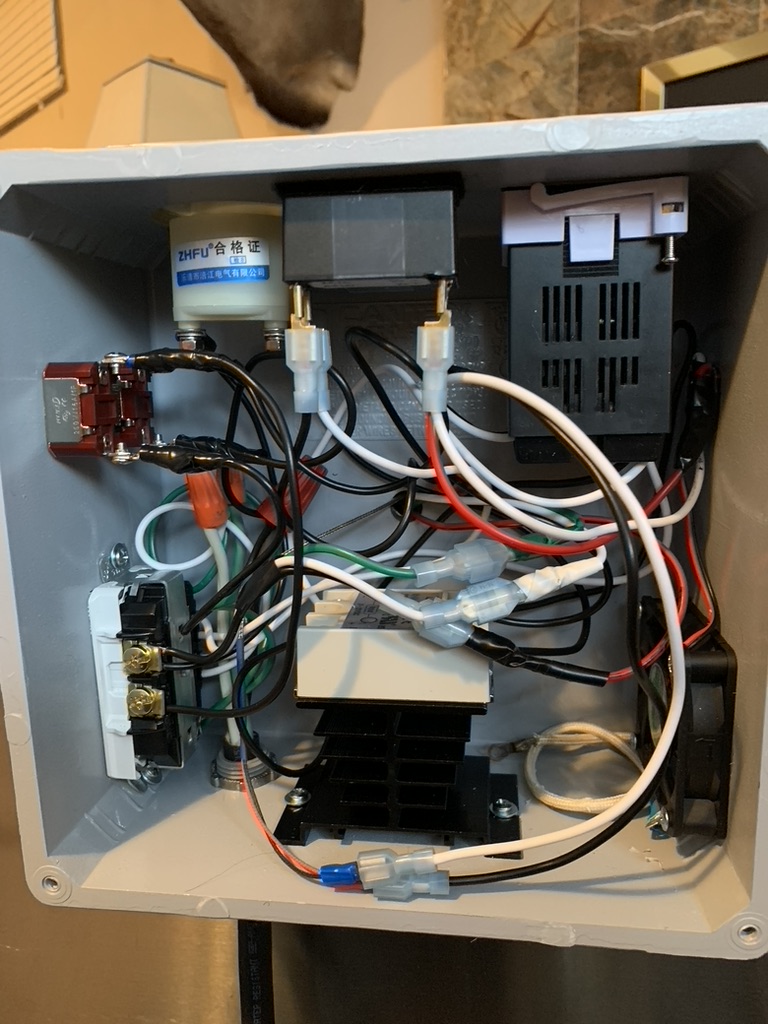
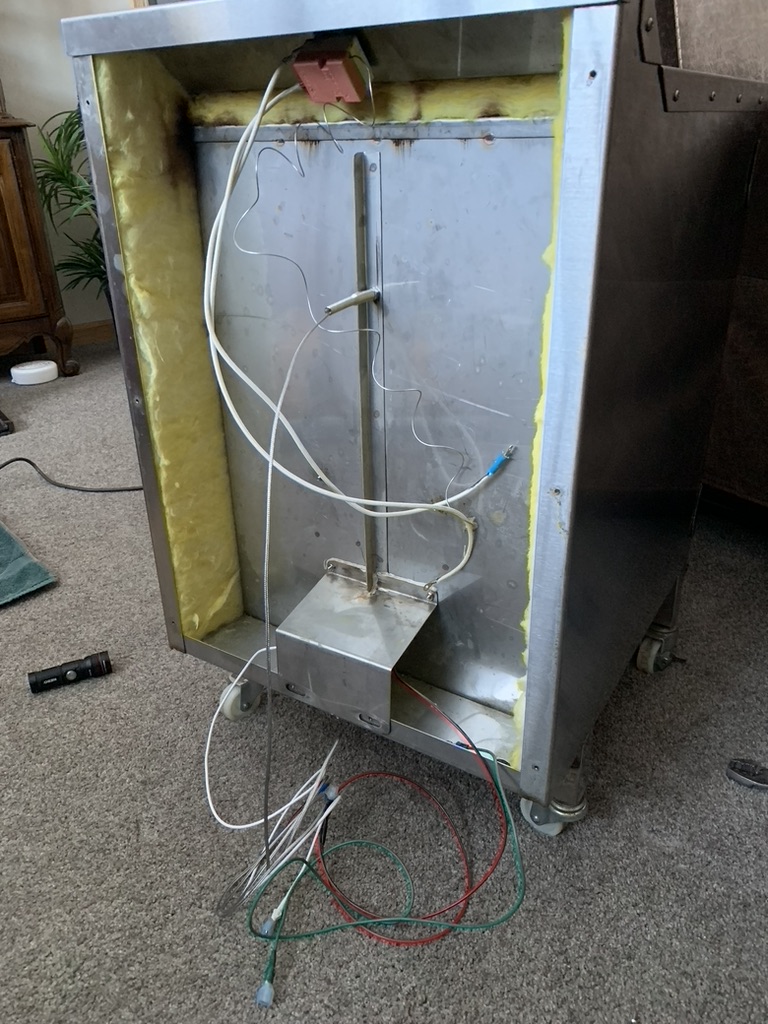
-
Ok… got some info in there now. Still working on how to get a ‘pic’ to show up
Retired157 You may have to reduce the size of your photos. I reduce mine across the board at 60% & it seems to work real well & still provide decent clarity & detail. I put mine in a particular file as well. Then you can just reduce the photo you want. The photo thing does not seem to work as well as it used to, but if you hit reply (instead of just doing a general post), then delete the handle you would be replying to, so it goes out as a general post. Take your reduced photo & move it or copy it to the reply box with the handle removed, wait a few seconds & presto, you should have a photo attached. Then hit submit.
-
Got it! Starting to feel like a full member now.
Retired157 Click on edit profile, then go to the upload picture button, that is the one on the left at the top of the banner on your page and you should be able to load a picture you have saved on your computer or device
-
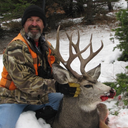
From what I can tell, it appears I was able to get a hunting pic in there…
-
From what I can tell, it appears I was able to get a hunting pic in there…
Retired157 Looks like you got everything on there
-
So, as was sitting here this morning, I decided that a good use of my time as I am waiting for all my ‘ingredients’ to arrive, would be to generate a document for myself that would GUIDE me through the ‘How To’ of the process I am using to make Summer Sausage. Now the first thing I should explain is that some… many… ok, maybe all of my friends say that I have a case of OCD; something I vehemently deny! Here’s what I’ve come up with. If anyone sees something that I have totally ‘screwed’ up, please let me know now. Many of you will recognize the fact that I tried to use a lot of the tips from this site and the MEATGISTIC folks and their videos.
Note Here… Walton’s was ‘Out of Stock’ on their Sure Gel Binder so I am in a bit of a waiting pattern for that.
Summer Sausage
‘The Process’Ingredients…
10lbs of meat
H-Summer
Sure Gel Binder
Sure Cure
Encapsulated Citric Acid (accelerator)
High Temp CheeseWater… 2 pints of water (=’s 2 lbs) per 25 lbs. 2 pints =’s 32 ounces
32oz’s divided by 25 lbs =’s 1.28 ounces per pound of meat
-10 lbs/meat x’s 1.28oz’s =’s 12.8 ounces of water… or .8 poundsFibrous Casings / Pre-Stuck… remember to soak in warm water for 30min’s to an hour BEFORE stuffing
Grinding of Meat…
Use a 80% to 20% ratio of ‘meat’ (deer/elk) to pork (Fat Back)… 8lbs of meat and 2lbs of Fat Back for a total of 10 lbs of meat.
Grind meat twice… first with 3/8” (10mm) plate - second with 1/8” (3mm) plate. Remember to ‘lube/oil’ your plates & cutting knives. Be sure to cool all your grinding ‘parts’ in the freezer for several hours BEFORE beginning the overall process of grinding your meat. Your meat needs to be ‘very’ cold… near freezing.
Mixing…
Objective here is to get ‘High Protein Extraction’… get the meat Tacky/Sticky - Squeeze & Mix Method
*H-Summer (per pound) = .9oz (2 tbsps)
-10 lbs x .9 =’s 9 ounces (18 tbsp’s)*Sure Gel Binder (per pound) = 2 tsp
-10 lbs x 2 tsp’s = 20 tsp’s (3.33 ounces)*Sure Cure (per pound) = 1/4 tsp
-10 lbs x 1/4 tsp = 2 1/2 tsp’s (.41 ounces)
Can be mixed with/in the water*Encapsulated Citric Acid (per pound) = 1 tsp
-10 lbs x 1 tsp = 10 tsp’s (1.66 ounces)
LAST 45 seconds of mixing*High Temp Cheddar Cheese (per pound) = 1 pound
-1 pound of cheese for every 10 lbs of meat
LAST 45 seconds of mixingStuffing…
Fibrous Casings / Pre-Stuck… soak in warm water prior to use
Load Stuffer AVOIDING air pockets
Stuff Casing FULLCooking-Smoking Schedule…
1 hr @ 115F… Drying Process - Open Vents / Air Flow - No Humidity - Smoke
1 hr @ 125F… Drying Process - Open Vents / Air Flow - No Humidity - Smoke
1 hr @ 125F… Adjusting Vents w/Air Flow - Add Humidity (water & sponges)
1 hr @ 140F… Adjusting Vents w/Air Flow - Add ‘Smoke’ w/Humidity
2 hrs @ 155F… Adjusting Vents w/Air Flow - Smoke & Humidity
? Hrs @ 175F… Until Internal Temp of Meat Reaches 140F - Remove to Sous VideSous Vide @ 170F… Until Internal Temp of Meat Reaches 160F - Approximately 1 Hour
*Once the Summer Sausage has reached an internal temp of 160F, remove from the Sous Vide and place in an Ice Bath for 30 minutes
*Remove Summer Sausage from Ice Bath and set out at ‘Room Temperature’ for 1 hour
*After 1 hour @ Room Temperature, refrigerate the Summer Sausage ‘Over Night’
*After ‘Refrigeration’… Ready for Freezing (and eating!) - Vacuum Seal
Retired157 said in Smoker Upgrade!:
Now the first thing I should explain is that some… many… ok, maybe all of my friends say that I have a case of OCD; something I vehemently deny!
Get it right. It’s CDO. They HAVE to be in alphabetical order. lol.
Nothing wrong with a written work plan. Following a written plan can help get consistent results and even the big meat processors do this. Actually, they are required to.
-
 Just finished my large smoker using retired commercial refrigerator. Added an Auber PID controller, smoke Chief smoke generator, Internal convection fan and 1800 electric element in bottom. Ran a test cycle yesterday heats up quickly, holds heat great , good air flow and even heat throughout. Time to load it up to run a few batches of snack sticks. If I figured correctly should be able to hang 75 lbs at once.
 -
Just finished my large smoker using retired commercial refrigerator. Added an Auber PID controller, smoke Chief smoke generator, Internal convection fan and 1800 electric element in bottom. Ran a test cycle yesterday heats up quickly, holds heat great , good air flow and even heat throughout. Time to load it up to run a few batches of snack sticks. If I figured correctly should be able to hang 75 lbs at once.
Very nice! What wattage of heating element are you using?
-
Just finished my large smoker using retired commercial refrigerator. Added an Auber PID controller, smoke Chief smoke generator, Internal convection fan and 1800 electric element in bottom. Ran a test cycle yesterday heats up quickly, holds heat great , good air flow and even heat throughout. Time to load it up to run a few batches of snack sticks. If I figured correctly should be able to hang 75 lbs at once.
mfrievalt Very Nice & looks like you can plan far into the future.
-
Just finished my large smoker using retired commercial refrigerator. Added an Auber PID controller, smoke Chief smoke generator, Internal convection fan and 1800 electric element in bottom. Ran a test cycle yesterday heats up quickly, holds heat great , good air flow and even heat throughout. Time to load it up to run a few batches of snack sticks. If I figured correctly should be able to hang 75 lbs at once.
mfrievalt
I will be interested to see your results with 75 lbs of sticks.I have experienced temperature stalls with large batches in a similar sized smoker with a 2400 watt element.
-
Retired157 said in Smoker Upgrade!:
Now the first thing I should explain is that some… many… ok, maybe all of my friends say that I have a case of OCD; something I vehemently deny!
Get it right. It’s CDO. They HAVE to be in alphabetical order. lol.
Nothing wrong with a written work plan. Following a written plan can help get consistent results and even the big meat processors do this. Actually, they are required to.
I’m sure ‘those’ folks out there with OCD do believe that CDO is more appropriate; present company excluded! lol
A ‘written work plan’… I like it.
-
Just finished my large smoker using retired commercial refrigerator. Added an Auber PID controller, smoke Chief smoke generator, Internal convection fan and 1800 electric element in bottom. Ran a test cycle yesterday heats up quickly, holds heat great , good air flow and even heat throughout. Time to load it up to run a few batches of snack sticks. If I figured correctly should be able to hang 75 lbs at once.
You must have a bit of Michelangelo somewhere in your DNA!
-
Just finished my large smoker using retired commercial refrigerator. Added an Auber PID controller, smoke Chief smoke generator, Internal convection fan and 1800 electric element in bottom. Ran a test cycle yesterday heats up quickly, holds heat great , good air flow and even heat throughout. Time to load it up to run a few batches of snack sticks. If I figured correctly should be able to hang 75 lbs at once.
mfrievalt Looks very nice, from the picture, it looks like you have all the smoker requirements covered.
-
Just finished my large smoker using retired commercial refrigerator. Added an Auber PID controller, smoke Chief smoke generator, Internal convection fan and 1800 electric element in bottom. Ran a test cycle yesterday heats up quickly, holds heat great , good air flow and even heat throughout. Time to load it up to run a few batches of snack sticks. If I figured correctly should be able to hang 75 lbs at once.
Do you have some openings cut in bottom and top of the cabinet for air flow? Its kind of hard to tell from the photo.
-
Quick little update… As I was telling everyone earlier, I did find a place to obtain the real thing; Fat Back (pork). Well, they, DeBragga, shipped my order yesterday overnight and guess what, it was delivered this morning before 9:00am! I can’t be happier. Their product look exquisite! So, those of you who are looking… give these folks a try. Here are a couple of pics:
 /Users/Ron/Pictures/Ron’s Photos Library.photoslibrary/resources/derivatives/2/2D1D7423-1383-4C15-9B80-B74D58882ACE_1_102_a.jpeg
 /Users/Ron/Pictures/Ron’s Photos Library.photoslibrary/resources/derivatives/5/551F2646-6A3A-4DC1-9D90-8DA10D1A9D43_1_102_a.jpeg
 -
Hey no problem. First, I went with the Anova - 1000w - Sous Vide… so all my ‘measurements’ are specific for it. I bought cooker/cooler from Home Depot… 48quart Coleman. I also bought my Schedule 40 PVC from HD which I used to make/modify my cooler’s lid to hold the Anova. So, here goes…
First, I used 3" PVC for this modification. I bought one (2ft) section of 3"… they sell 2ft sections so you don’t have to buy a full length. Then, the only other thing I needed was a 3" cap… easy enough.
Next, thing I needed to do was ‘mark’ dead center (bottom) of my 3" cap. Then, using a 2-3/8" hole saw, I drilled out the cap… this hole now allows my Anova to slide in… nice & secure. After drilling this hole, I cleaned it up nicely with a rattail file.
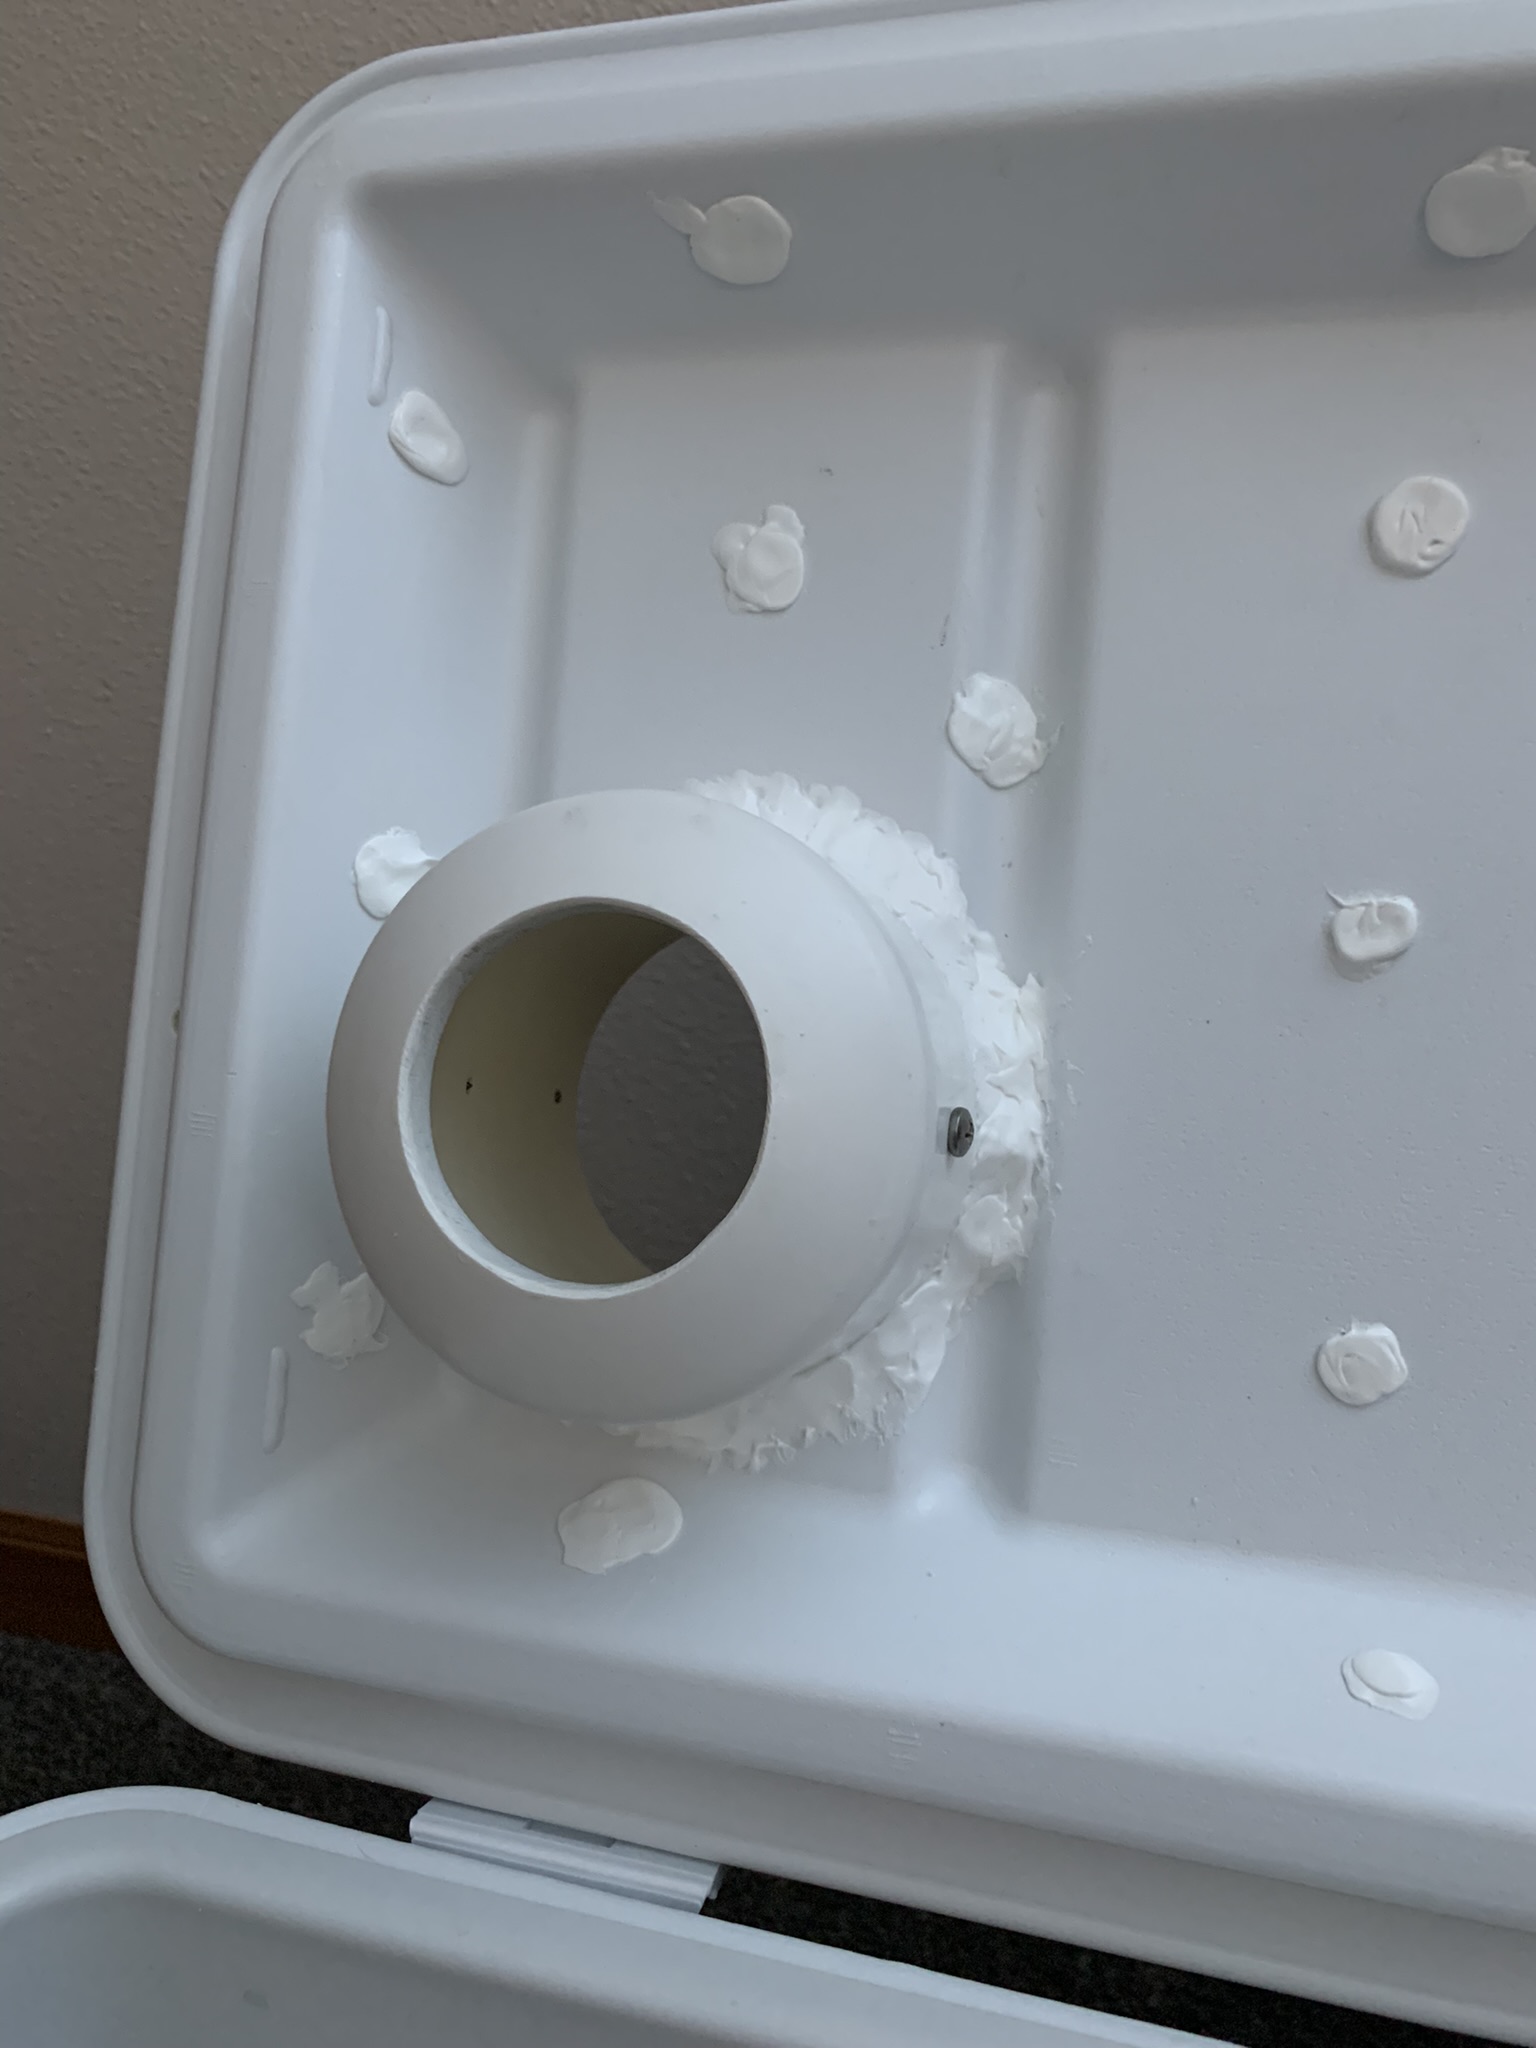
With the hole done, I glued my 2ft length of 3" pipe in… all the way - bottom it out. You will note in the pic that in addition to gluing these parts together, I also used two sheet metal screws (small @1/2" - 180degrees out from each other) to ensure my two ‘pieces’ never come apart.
Then, I had to decide where I wanted to locate my Anova (its home) on the cooler/cooker lid… I went for that upper left location. This allows me to open & close the lid even with the Anova ‘in place’. A word of caution here… NEVER allow your Anova to be ‘ON’ and ‘removed’ (out) of the water. Apparently this is a sure fire way to burn up a Sous Vide cooker… so don’t open your lid with your Anova ‘On’.
Using a 3-5/8" hole saw (which I did have to buy @HD), I slowly & carefully cut the hole in the lid… it actually went/cut without any issues. Now, you are able to ‘feed’ the 3" pipe in from the side of the lid… be sure to bottom out the cap to the underside of the lid… NO Gap. From here, I had to decide just how much of the 3" pipe I actually was going to need ‘above’ the top side of the lid. I marked the pipe ‘flush’ to the lid and decided on I think… 1" higher. Now I marked & cut the pipe to length.
From here, I did not want my ‘creation’ to fall back into the cooler, so, with it fitted tight to the underside, I marked three spots on the pipe… @ ‘12’, ‘4’, and ‘8’. Then again using some small metal screws, 1/2" again, I screwed them in deep enough to hold but out enough to rest on top of the lid… now, the PVC ‘holder’ can’t be pulled up or pushed down… it’s secure!
Almost forgot… Pilot Holes are required to screw into the PVC
Now, you can see in the pic, I have a ‘slot’ cut in the back of the PVC pipe sticking out above the lid. This allows the Anova power cord to slide down to allow the Anova to be as low (down) as possible in the cooler/cooker. I wanted to make SURE that the Anova was always IN water and that it hung plenty ‘deep’… and it does!
From here, I used epoxy to seal/secure everything… top & bottom. Then I used silicon to ‘pretty’ things up.
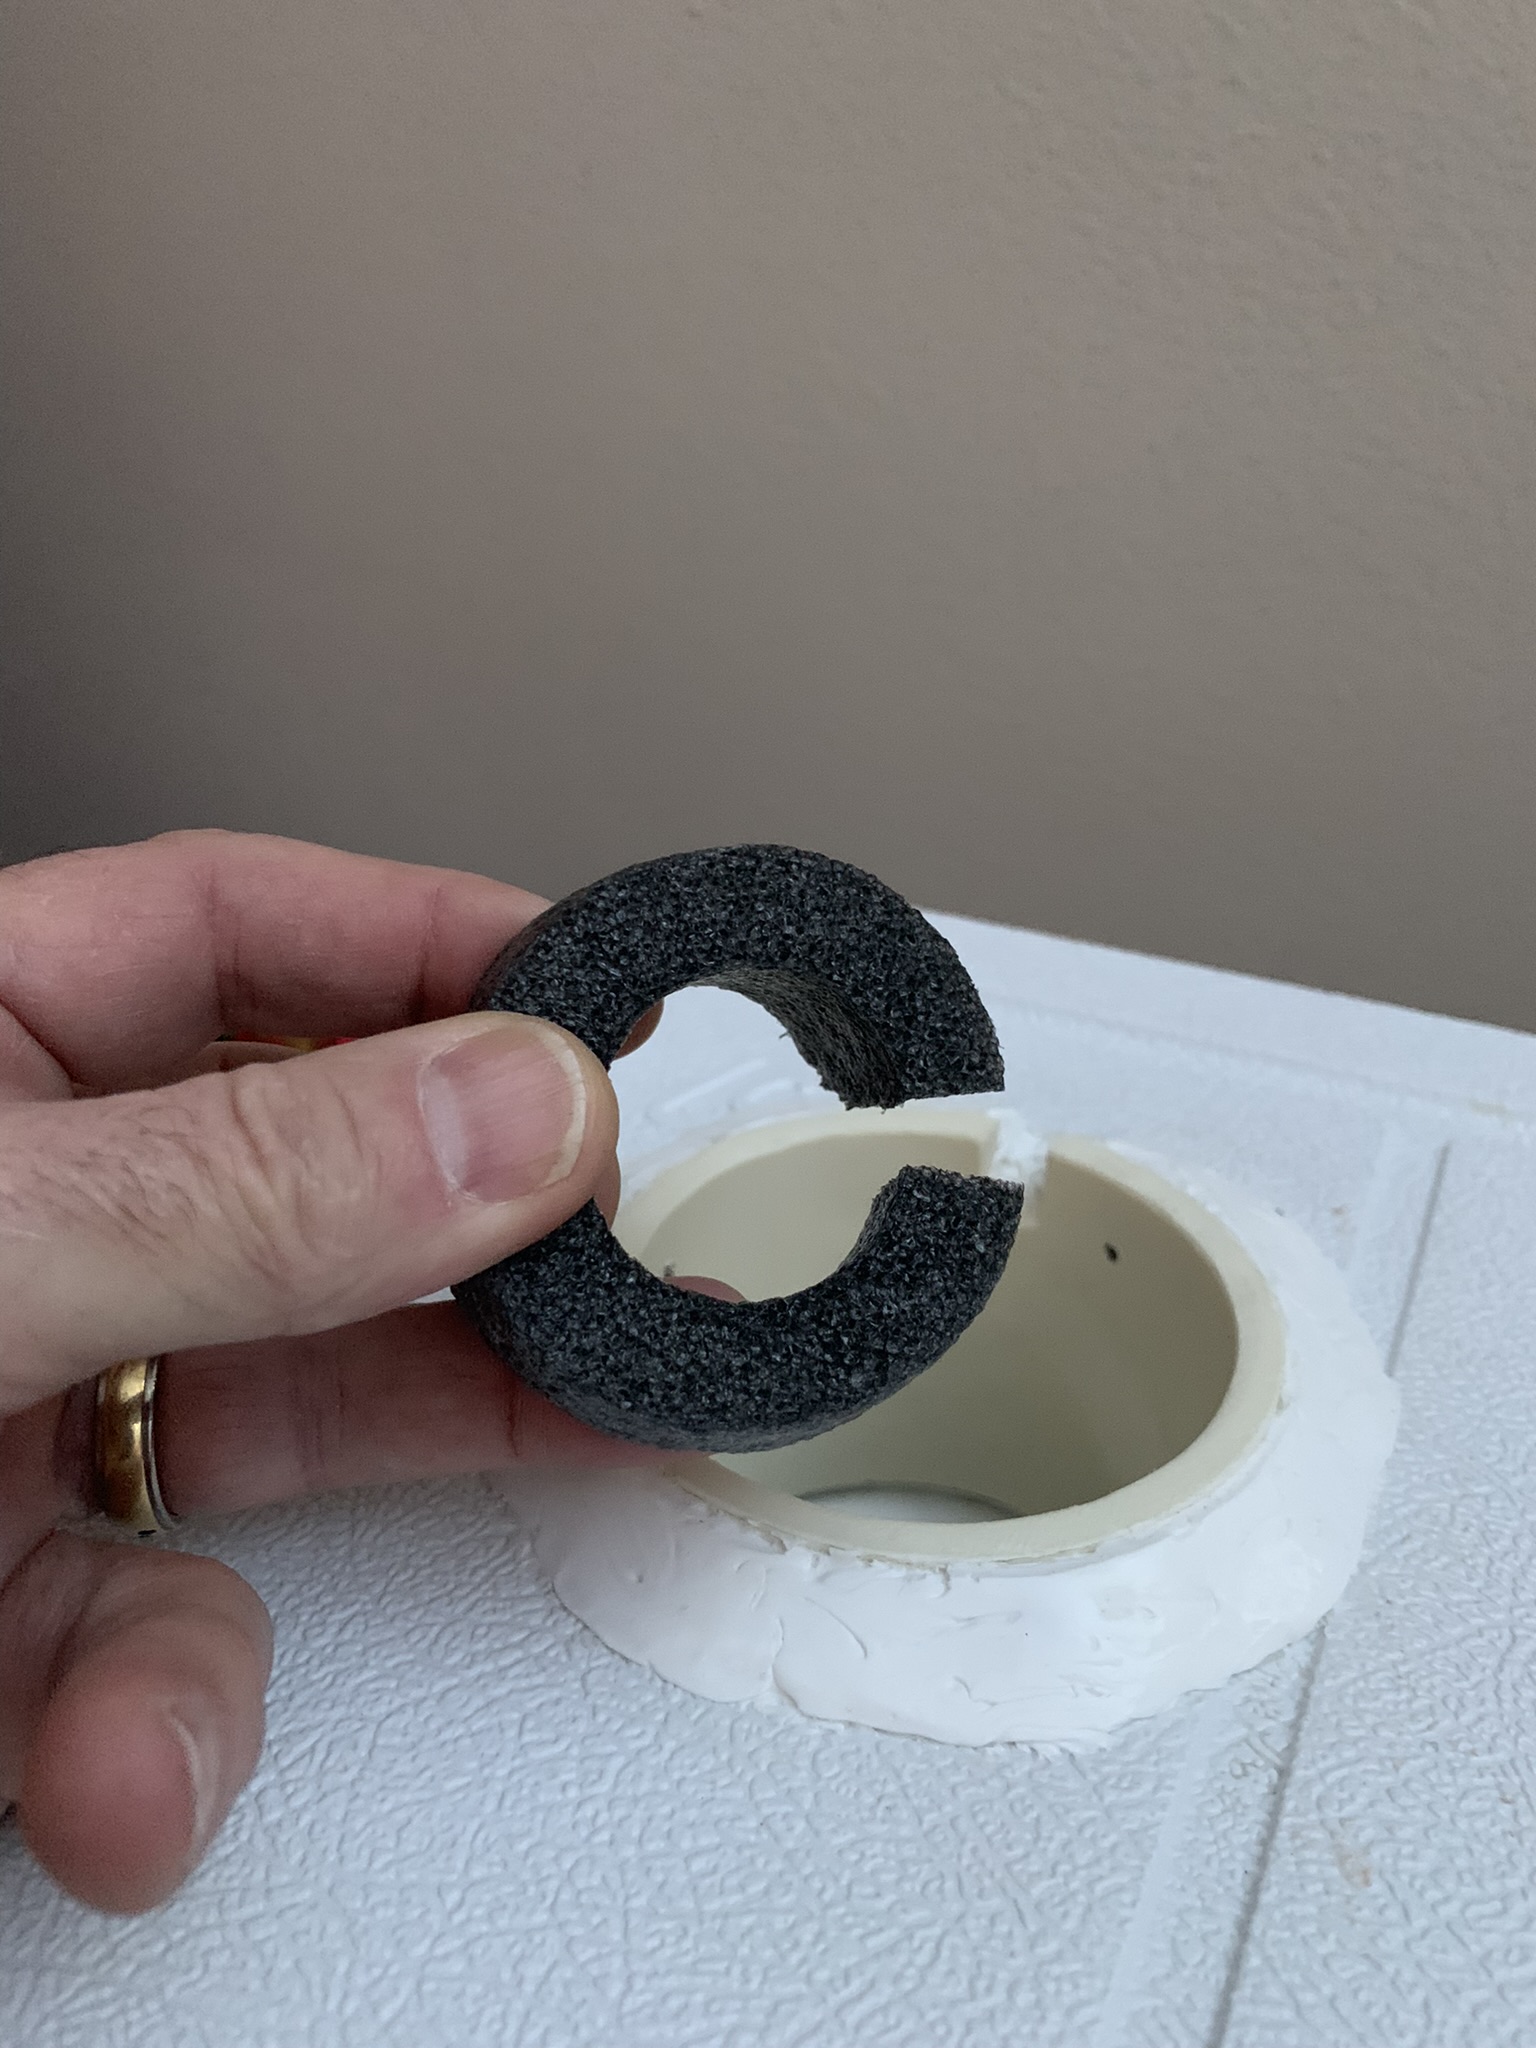
You know that ‘black’ pipe insulation they sell for going around copper pipe (water heaters)… I had a piece of that laying around… 2". I cut a 1" piece off and it is a perfect fit/way to secure the Anova when in place… NO shake, rattle, or roll!
Done. Hope all that makes sense. I hope you have the pics you need. I tried ‘foaming’ the inside of the lid (spray can) for added insulation value as per a You Tube video. I found this to be a total waste of effort and NOT worth it… don’t do it. So yes, I had some additional holes to ‘seal’… wish I could do that over (or NOT OVER!)
 /Users/Ron/Pictures/Ron’s Photos Library.photoslibrary/resources/derivatives/0/0A6A59D0-2A39-4CF6-ACD8-423555CDAB45_1_102_o.jpeg
 /Users/Ron/Pictures/Ron’s Photos Library.photoslibrary/resources/derivatives/A/A4CCBBA2-4185-4128-B29E-CA7D10D117A7_1_102_o.jpeg
Retired157 I have a similar cooler and drilled a hole in lid for Anova. Definitely like what you did to lower it even further as on mine the Min water level to heat it all up will lead to an overflow once 25lb of sausage is added. I ended up simply clamping the Anova to the cooler sidewall to get it a bit lower and left lid open while cooking. Figured for only an hour or so there wouldn’t be much lost without sealed lid.
Am curious on yours: When loaded with sausage will the lid with Anova in it open close easily or will it get block by floating sausage? It may be worth cutting lid so that the smaller part with Anova can remain closed and running while you lift larger half to check temps and add or remove product. Hope that makes sense.
-
Retired157 I have a similar cooler and drilled a hole in lid for Anova. Definitely like what you did to lower it even further as on mine the Min water level to heat it all up will lead to an overflow once 25lb of sausage is added. I ended up simply clamping the Anova to the cooler sidewall to get it a bit lower and left lid open while cooking. Figured for only an hour or so there wouldn’t be much lost without sealed lid.
Am curious on yours: When loaded with sausage will the lid with Anova in it open close easily or will it get block by floating sausage? It may be worth cutting lid so that the smaller part with Anova can remain closed and running while you lift larger half to check temps and add or remove product. Hope that makes sense.
So, I haven’t ‘used’ my cooler cooker yet… but getting close to it now! When I do, I’ll be sure to take some pics and ‘see’ if I get any issues. I am only doing 10 lbs… (5 - 2 lb) sticks at a time. I made a ‘Fake’ stick to check out how things will fit and I believe I am going to be well within the room of the cooler. Also, I made my own system to ‘rack’ the summer sausage in the cooler… again out of PVC (1/2"). Even filled with sand and ‘capped’. I don’t think I will have a problem with floating/runaway Summer Sausage.
I know that I can fill my cooler with water up to the bottom of that PVC cap that the Anova fits into and I will still have about an inch more of ‘cooler’ space without overflowing. Also, with the water at this level, the Anova fits low enough, almost to the ‘max’ line, that I do not have to worry about it starving for water.
Guess we’ll see…



Hello! It looks like you're interested in this conversation, but you don't have an account yet.
Getting fed up of having to scroll through the same posts each visit? When you register for an account, you'll always come back to exactly where you were before, and choose to be notified of new replies (either via email, or push notification). You'll also be able to save bookmarks and upvote posts to show your appreciation to other community members.
With your input, this post could be even better 💗
Register LoginSponsored By:

